Cutting Gold with a Fiber Laser: Where We Would Start
If you're cutting gold with a fiber laser today, this guide offers practical settings, focus advice, and calibration steps based on our daily workshop experience.
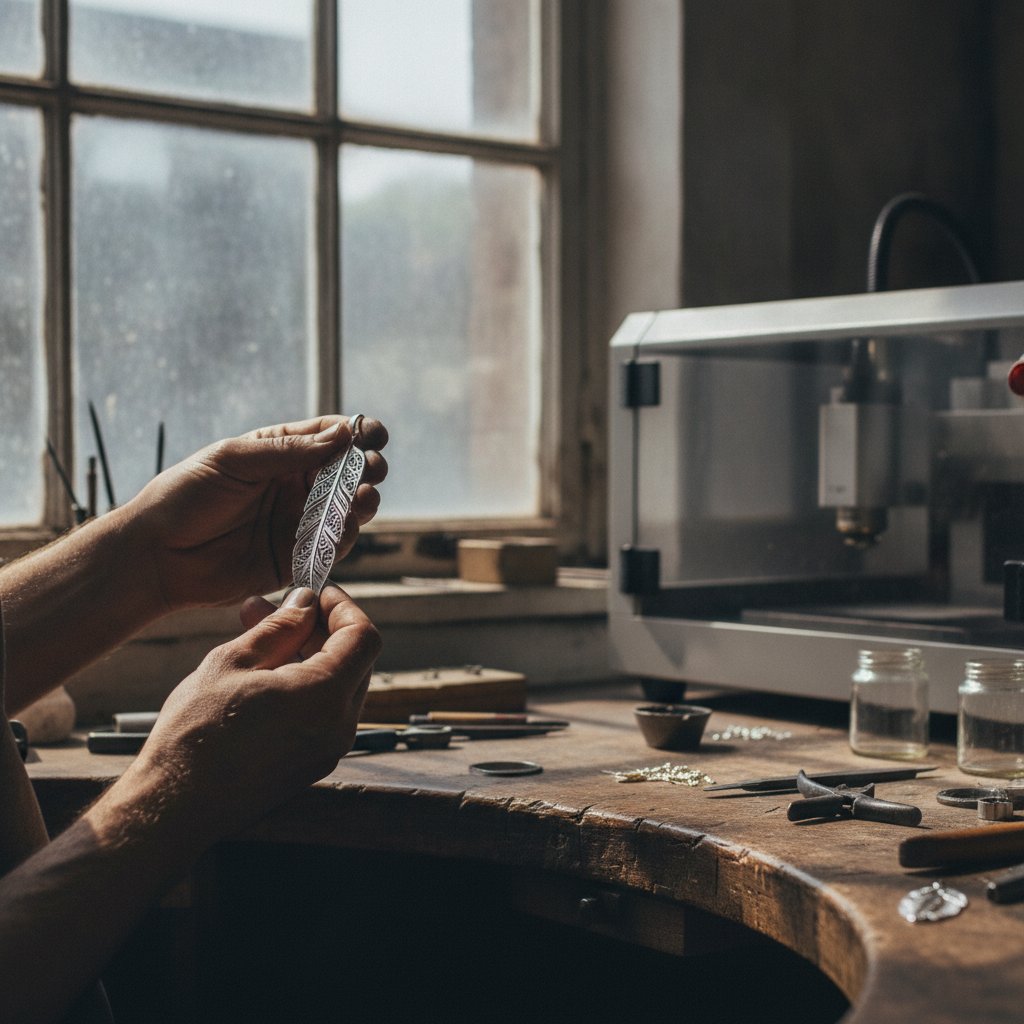
If you need to cut gold with your fiber laser today, here’s where our workshop would start. Gold is noticeably easier to cut than sterling silver, so if you’ve been struggling with silver, you’ll find that your machine feels more powerful and responsive with gold. We’ll give you our derived starting points and the essential checks that make or break a successful cut.
Safety First, Always
Before you run any job, understand that a fiber marking laser is a Class 4 device. The 1064 nm beam is invisible and can cause permanent eye damage instantly, even from reflections. Always wear laser safety glasses rated for 1064 nm with an OD suitable for your source power. Ensure proper fume extraction with a filter, as metal marking produces fine particulate. Never leave a running job unattended.
Why Gold Is Easier Than Silver for Laser Cutting
One of the most important things to understand about laser cutting precious metals is how they interact with the beam. A fiber laser at 1064 nm has to be absorbed by the material to do its work. The more reflective the metal, the more power bounces off instead of cutting.
Sterling silver is the most reflective common precious metal and an excellent heat conductor. This is why it rejects much of the beam and quickly dissipates any heat that does get in, demanding many passes to cut through. Gold, on the other hand, reflects less of the 1064 nm beam. This difference is obvious on the bench: the laser works much more efficiently on gold, cutting and engraving more easily than silver with the same machine and operator. If you've only ever cut silver, cutting gold will feel like your machine suddenly got an upgrade. You can read more about this in our article, Why Gold is Easier to Laser Than Silver (and How to Tame Silver).
Setting Up Your Machine for Cutting Gold
The core recipe we use for cutting metal doesn't change much from silver to gold; it’s mostly about adjusting the number of passes. This means you’re not learning an entirely new set of parameters, just how much less work gold needs.
Focus Height: The Single Most Important Setting
More cuts fail due to incorrect focus than any other parameter. For cutting sheet metal lying flat on your machine's platform, the correct Z-axis height positions the top surface of your material at the laser's focal point. Our machine's factory-calibrated focus (stored in EzCad3's Motors.ini as m_dFocusPos) is -59.6 mm. So, for a 1.0 mm gold sheet, your Z-axis should be set to -59.6 mm + 1.0 mm = -58.6 mm.
We learned this the hard way: a 2 mm defocus can completely prevent a cut. If your cuts start getting worse even though your settings haven't changed, check your focus height before you adjust anything else. Make sure your material is lying perfectly flat and isn't rocking.
The Core Cutting Recipe
Our workshop uses a consistent set of parameters for cutting precious metals, regardless of thickness or material. What changes is the number of passes. For cutting gold, we would start with:
- Power:
95 % - Speed:
190 mm/s - Frequency:
60 kHz - Wobble: Enabled
For cutting, high frequency wins. We tested dropping the frequency to 20 kHz on silver, which creates fatter pulses good for deep engraving, but it actually cut worse. High frequency, like 60 kHz, is what you want for cutting through.
Wobble: Essential for a Clean Cut
Cutting metal with a fiber laser relies on a feature called wobble. This makes the beam oscillate slightly as it follows the cut line, making the kerf (the width of the cut) wider than the beam's spot size. A wider kerf is crucial because it allows the molten metal to escape the cut line instead of re-welding behind the beam, which would prevent a through-cut.
Our working silver cutting recipe uses a wobble diameter of 0.15 mm. We once had a failure where the wobble diameter was mistakenly set to 0.015 mm (a factor of ten smaller), and the machine simply would not cut through, only engrave a line. If your laser seems to be marking but not cutting, check your wobble diameter first.
Starting Pass Counts for Gold: Our Derived Table
Because gold absorbs the laser beam more efficiently than silver, it requires significantly fewer passes to cut through. The following table provides our derived starting points for gold sheet, based on roughly half the passes we use for sterling silver of the same thickness. These are starting points, not proven measurements in gold, and must be tested on scrap material. Karat and alloy composition (e.g., 18k yellow gold vs. 14k or white gold) will affect results, so treat these as a guide for typical yellow gold.
| Sheet thickness (mm) | Gold passes (starting point) |
|---|---|
| 0.25 - 0.4 | 2 |
| 0.5 | 3 |
| 0.6 | 4 |
| 0.7 | 6 |
| 0.8 | 9 |
| 0.9 | 11 |
| 1.0 | 14 |
For comparison, our workshop's measured pass counts for sterling silver at the same power, speed, and frequency are 17 passes for 0.8 mm, 21 for 0.9 mm, and 28-29 for 1.0 mm. This illustrates how much more efficiently the laser works on gold.
Always start with fewer passes than you think you need and work your way up. A cut that doesn't go through just needs one more pass. A cut with too many passes will widen the kerf excessively, overheat the piece, and potentially distort thin sections. Gold is too expensive to learn on by trial and error without a proper calibration strategy.
Calibrating for Your Gold: A Method That Works
Once you have your initial settings, the next step is to prove them on your specific material. This methodical approach saves you from ruining expensive pieces:
- Always use scrap. Never calibrate on a real piece of jewelry. Use a coupon of the exact same alloy and thickness you plan to cut.
- Change one variable at a time. Create a simple test grid with varying passes, clearly engraving the settings next to each test cut. This gives you more information in ten minutes than an afternoon of guessing.
- Find the minimum. For cutting, look for the pass count that just barely goes through, then add one or two passes as a small safety margin. Going far beyond this minimum wastes time and can damage your piece.
- Document everything. Write down your successful recipe immediately: material, thickness, power, speed, frequency, passes, and focus height. A recipe without all these details is not reproducible.
- Recalibrate when anything changes. If you get a new batch of gold, change your jig, or even clean your optics, re-run a small calibration test. "It worked last month" is not a setting.
After the Cut: Dealing with the Black Edge
Once your gold piece comes off the laser, you'll notice that the cut edges are often oxidized and dark. This is a normal byproduct of the laser process. The piece off the machine is rarely the piece you sell.
Our routine is to polish and bring the shine back after marking. This is a standard part of our finishing process. You need to design your pieces with this in mind: any fine detail or shallow engraving might be softened or removed by polishing. Therefore, aiming for real engraving depth, rather than just a surface mark, is often beneficial.
The order of operations matters: deep work first, then finishing. Polishing before laser cutting means you can't easily touch up the surface afterward without affecting the mark.
Practical Takeaways for Your First Gold Cut
Here’s what our workshop would do if we were cutting gold for the first time today:
- Prioritize Safety: Don't skip the safety glasses and proper extraction. It's non-negotiable.
- Set Focus Accurately: Calculate your Z-height (
focus + material thickness) and ensure your material is flat. This is the biggest single factor for success. - Start with the Core Recipe: Use
95 % power, 190 mm/s, 60 kHzwith wobble enabled (diameter0.15 mm). - Use the Derived Pass Counts as a Starting Point: Refer to our table for your material thickness, but remember these are estimates for a typical yellow gold.
- Calibrate on Scrap: Always test on an identical scrap piece. Run a small test grid to find the minimum passes needed, then add a small margin.
- Account for Post-Processing: Plan to polish the piece after cutting to remove the black oxidation and bring back the shine.
- Troubleshoot Buffer Issues: If you're cutting large, complex geometries and the laser seems to stop firing passes, your board's buffer might be getting overloaded. This can silently drop passes, making your cuts appear weak. We've written about this in Why Your Laser Stops Cutting Mid-Job (It's Not the Laser).
Gold is a joy to work with on a fiber laser once you have your settings dialed in. By being methodical and understanding the physics, you'll be making clean, precise cuts in no time.