Deep Engraving Silver for Enamel: Our Workshop Recipe
Achieving real depth in sterling silver for enamel filling is a common challenge. Here's our workshop's tested recipe and process for creating sharp, deep recesses that hold color beautifully.
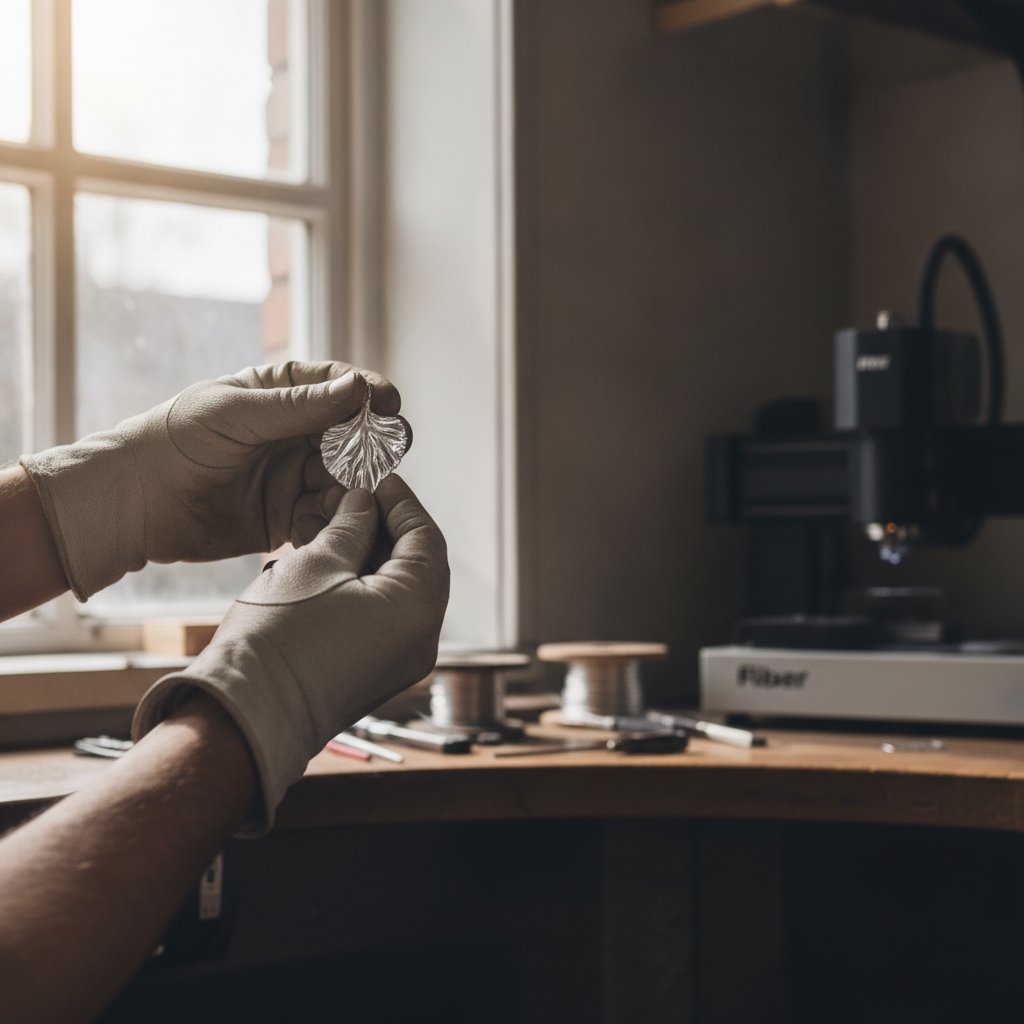
You want to engrave silver deep enough to fill with enamel, a technique known as champlevé. This isn't a surface mark; it needs real depth and clean walls to hold the color. After losing a lot of sterling silver to shallow marks, melted edges, and stray lines, we finally dialed in a process that works consistently on our fiber laser. Here’s how we do it, from the laser settings to the final finish.
Safety First: A Class 4 Laser
Before we dive into settings, remember that a fiber marking laser is a Class 4 device. The 1064 nm beam is invisible and causes permanent eye damage instantly and silently. Always wear laser safety glasses rated for 1064 nm (with an OD suitable for your source power), and ensure everyone in the room does the same. Metal is a mirror, and reflections go everywhere. Never leave a running job unattended. Metal marking produces metal fume and fine particulate, so proper extraction with a filter is health equipment, not an accessory. Physical interlocks and enclosures are your real safety layer; software interlocks are a convenience.
Understanding Silver: The Hardest Challenge
Sterling silver is arguably the most difficult common precious metal to work with on a fiber laser. It's the most reflective metal there is, bouncing off much of your beam, and an excellent heat conductor, carrying away any heat that does get absorbed. This is why it needs many passes to cut or engrave deeply. Gold, by comparison, is far easier – if you've only worked with silver, engraving gold will feel like your machine suddenly got an upgrade. We specifically buy a harder silver alloy made for laser work, which helps. If you're struggling, your alloy might be part of the problem.
For very reflective silver, we sometimes use a crude but effective trick: paint the engraving area matt black, mark through the coating, and then clean it off. The black coating absorbs the beam, transferring the heat to the metal.
Our Recipe for Deep Engraving Silver
The key to deep engraving isn't just raw power; it's the energy packed into each pulse. For depth, you need fatter, more powerful pulses. We found that dropping the frequency was the biggest lever. Here is the recipe we use in our workshop for deep engraving sterling silver for enamel filling:
- Power: 100 %
- Speed: 600 mm/s
- Frequency: 30 kHz
- Passes: 10
This recipe, tested on our 100 W MOPA source, gives us the depth needed. For comparison, we found that a 30 W machine, engraving at 30 kHz and 500 mm/s, achieved similar depth per pass. This confirmed our finding: engraving depth per pass follows the energy per pulse (roughly average power ÷ frequency), not just the wattage on the label. Lowering the frequency increases the energy per pulse, making it dig deeper. More passes at these settings will predictably increase the depth. Slowing down further can also increase depth, but we've seen it start to melt and round the edges of the recess, which isn't ideal for enamel. This is why we prefer controlling depth with pass count.
If your machine is a MOPA source, you also have control over Pulse Width. For deep engraving, longer pulses put more energy into each shot and dig deeper. Our working recipe uses a Pulse Width of 200 ns, which is on the longer side for a MOPA source. You can read more about this in Pulse Width in Nanoseconds: What It Does to Your Mark.
Sharpening the Recess Walls: Spot Compensation
Your digital drawing has zero-width lines. Your laser spot does not. Every marked line comes out fattened by roughly half a spot diameter on each side. On a detailed design, this fattening closes the small white gaps that define the detail, turning crisp lines into a soft, blurry mess. For enamel filling, you want sharp, vertical-ish walls to hold the material effectively.
The fix is to shrink the area to be marked by about half a spot diameter before marking. The laser spot then fattens it back to the correct size. We typically use a compensation of 0.05 mm as a default and fine-tune from there. More compensation results in a finer, cleaner mark; too much, and the fill starts to break up. This is the same principle as kerf compensation in cutting, applied to engraving fills.
A word of caution: if you apply spot compensation, any stroke in your design that was already thinner than the laser spot will shrink to nothing and disappear. Check your artwork for fine lines, and either thicken them deliberately or mark them as separate, uncompensated lines if they are critical.
Avoiding Stray Lines: Clean Jumps
The classic "random lines ruining my engraving" problem is frustrating, but solvable. Those faint lines aren't part of your fill pattern; they are the machine's jump moves between marked segments, made with the beam supposedly off. There are two main culprits:
- Jumping too slowly: We once lowered the
Jump Speedto 60 mm/s, thinking a slow jump would leak less. The opposite is true: a slow jump gives the tail of the beam time to drag a visible line across the work. Back at 2000 mm/s (the default for EzCad3), the stray marks largely disappeared, and the job ran much faster. Laser Off TCtoo short: TheLaser Off TC(Time Compensation) is a crucial delay after the last mark of a segment, allowing the laser to fully die before the head moves. If this is set too short (ours was, for a while, far shorter than EzCad3's default 100 µs), the machine starts jumping with a live beam, leaving faint lines.
A detailed engraving can involve thousands of jumps. Even a tiny leak per jump will paint a visible mesh across your piece. Using a sweep fill strategy (marking row by row, like a printer) typically gives the most even, professional result. When sweeping, do NOT mark the connectors between rows. These connectors were the "lines" we chased for weeks. Sweep with a proper jump between rows, and those lines are simply gone.
The Engraving Process for Enamel Filling
Once you have your settings dialed in, the actual process is straightforward:
- Engrave the recess: Use the recipe above to achieve the desired depth. We aim for enough depth to hold a generous amount of enamel.
- Fill with enamel: Push the enamel into the recess, ensuring it's generously filled.
- Clean excess: Carefully clean off any excess enamel from the surface around the engraving, leaving color only in the recess.
- Fire (if applicable): If you're using kiln enamel, fire the piece according to your enamel's instructions.
- Sand and polish: This is the critical step for a professional finish. After firing, you can sand the entire surface flat and then polish it. This brings the enamel level with the metal, creating that beautiful, flush champlevé effect. The depth of your engraving is paramount here: if it's too shallow, sanding will remove the enamel entirely. This post-laser polishing routine is normal; the laser will always leave a black, oxidized edge, so plan for it.
Here's a quick summary of the key parameters and their purpose:
| Parameter | Our Setting (for depth) | What it does |
|---|---|---|
| Power | 100 % | Average power from the source. |
| Speed | 600 mm/s | How fast the galvos drag the spot. Slower increases energy per millimetre. |
| Frequency | 30 kHz | Pulses per second. Lower frequency = fatter, more powerful individual pulses (for depth). |
| Passes | 10 | How many times the whole geometry is repeated. The honest way to get depth. |
| Spot Compensation | 0.05 mm | Shrinks the marked area to compensate for laser spot width, creating sharper edges. |
| Jump Speed | 2000 mm/s | How fast the head travels between marks with the beam off. Faster jumps reduce stray lines. |
| Laser Off TC | 100 µs | Delay after a mark before the head jumps, ensuring the beam is off. Prevents stray lines. |
Remember, these numbers are from our machine, our source, and our silver. Treat them as a starting point, not gospel. Every new material or thickness gets proved on scrap first. A test grid of speed against power on a scrap coupon costs ten minutes and saves a ruined piece.
Practical Takeaways: What We Would Do First
If we were starting this journey again, here’s our checklist for deep engraving silver for enamel:
- Calibrate your depth: Start with our recipe (
100 % power · 600 mm/s · 30 kHz · 10 passes) on a scrap piece. Adjust the number of passes up or down until you get the depth you need for your chosen enamel. - Implement spot compensation: Before running any detailed design, apply a 0.05 mm shrinkage to your marked areas in your design software. This is crucial for crisp, clean walls that hold enamel well.
- Check your jump settings: Ensure your
Jump Speedis high (around2000 mm/s) and yourLaser Off TCis at least100 µsto prevent stray lines from ruining your work. These settings are typically found in your EzCad3 parameter library, often in theMarkParamlib.inifile within yourPARAMfolder. - Plan for post-laser finishing: Always assume you'll need to polish the piece after engraving to remove oxidation and achieve the final shine. Design your jewelry with this in mind, ensuring fine details are deep enough to survive polishing.
Deep engraving silver for enamel filling is a craft, but with the right approach and a solid understanding of your laser, you can achieve beautiful, professional results that stand the test of time.