Why Gold is Easier to Laser Than Silver (and How to Tame Silver)
If you've ever wondered why gold seems to cooperate with your fiber laser while sterling silver fights you every step of the way, you're not alone. The answer lies in physics, and our workshop has spent years figuring out how to get silver to behave. This is what we learned.
If you have ever tried to cut or engrave sterling silver with a galvo fiber laser, only to find it stubbornly refusing to cooperate, while gold on the same machine works like a dream, you are experiencing the same frustration we did for years. The core reason is simple physics: silver is one of the most reflective metals there is, and it’s also an excellent conductor of heat. Gold, by contrast, absorbs the laser beam much more readily.
This means a fiber laser at 1064 nm wavelength struggles to transfer its energy into silver. Most of your beam bounces off, and the heat that does get in is quickly carried away. It’s like trying to light a match on a block of ice: the energy just dissipates. Gold reflects less of that 1064 nm light, so more power actually gets into the material and stays there long enough to do work. That difference is stark on the bench: gold cuts and engraves with far fewer passes, making it seem like your machine suddenly got more powerful.
Before we dive into our hard-won solutions for silver, a critical safety reminder. A fiber marking laser is a Class 4 device. The beam is invisible at 1064 nm and its reflections cause permanent eye damage instantly. Always wear laser safety glasses rated for 1064 nm (with an OD suitable for your source power), and ensure everyone in the room does the same. Always use proper fume extraction, and never leave a running job unattended.
The Core Problem: Why Silver Fights Your Laser
Our workshop, Joyería HAGO in Málaga, Spain, cuts and engraves sterling silver every working day. We learned the hard way that silver is the most difficult of the common precious metals for a fiber laser. Its high reflectivity means a large portion of the laser's energy simply bounces away. Its superb thermal conductivity means any energy that does get absorbed is quickly dissipated throughout the material, rather than concentrating in the spot where you want to cut or engrave.
This is why you need so many passes to cut silver, and why achieving deep, crisp engravings for enamel filling can be such a challenge. When the laser hits gold, more of that energy is absorbed and stays local, making the process much more efficient. If you only ever work with silver, you might think your laser is underpowered. Once you put gold on the platform, you'll see what the machine can really do.
Getting Silver to Respond: Focus, Frequency, and Wobble
Since you cannot change the physics of silver, you have to optimize every aspect of your laser setup to make the most of the energy that does hit the mark. For us, three things made the biggest difference:
Focus Height: The Foundation of Any Cut
This is the single biggest fix we ever made. If your focus is off by even a millimeter or two, your cuts will either take many more passes or fail completely. Your machine's factory-calibrated focus height is typically found in its configuration files (e.g., EzCad3's Motors.ini as m_dFocusPos). On our machine, this value is -59.6 mm, which is the height at which the platform surface is in focus.
When cutting sheet material, the top surface of the material is what needs to be in focus, not the platform below it. So the rule is: Z = focus + material thickness. For example, to cut 1 mm sterling silver on our machine, the correct Z-axis position is -59.6 mm + 1 mm = -58.6 mm. We learned this the hard way: -58.5 mm cuts, but -56.5 mm does not cut at all. That 2 mm difference completely kills the cut. If your cuts have gotten worse over time, check your focus height before you change anything else.
Frequency and Pulse Energy: Digging vs. Cutting
This is counter-intuitive: a 100 W laser can engrave shallower than a 30 W machine if the frequency is wrong. Why? Engraving depth per pass follows the energy per pulse, which is roughly average power divided by frequency. At a fixed average power, a higher frequency means weaker individual pulses, while a lower frequency means fatter, more powerful individual pulses.
- For deep engraving (e.g., for enamel filling), you want fatter pulses that dig more aggressively. This means lowering your frequency. We found that dropping our frequency to 30 kHz was a game-changer for getting real depth in silver.
- For cutting through material, however, high frequency wins. We tried dropping the cut frequency to 20 kHz on 0.3 mm silver, thinking fatter pulses would help. It cut worse, requiring many more passes. Back at 60 kHz, it cut in a handful. High frequency with its weaker, more numerous pulses is better for ejecting molten metal and pushing through the material.
Wobble: The Unsung Hero of Through-Cuts
When cutting metal with a fiber laser, you almost always need wobble. Wobble makes the beam oscillate slightly across the cut line, widening the kerf (the width of the cut). This wider kerf is crucial because it allows the molten metal to escape the cut channel instead of re-welding behind the beam. Without wobble, or with a wobble that is too small, the molten silver simply re-fuses, and your "cut" becomes a deep engraved line that never breaks through.
In our working silver cutting recipe, we use a wobble diameter of 0.15 mm. We once accidentally set it to 0.015 mm (a factor of ten error), and our machine suddenly stopped cutting completely, even with correct power and passes. The job looked like it was running perfectly, but nothing went through. If your laser suddenly stops cutting, check your wobble diameter before anything else.
Our Measured Recipes for Sterling Silver
The numbers below are what we use on our own 100 W MOPA fiber laser with a JCZ DLC2 controller. Treat them as a starting point, not universal gospel. Always prove recipes on scrap material of the same alloy and thickness.
Cutting Sterling Silver Sheet
Our common recipe for cutting sterling silver sheet on the platform is: 95 % power, 190 mm/s, 60 kHz, with wobble enabled. We buy a harder silver alloy specifically made for laser work; not all sterling behaves the same.
| Sheet thickness (mm) | Passes (our machine) |
|---|---|
| 0.8 | 17 |
| 0.9 | 21 |
| 1.0 | 28-29 |
Based on these measured points, our pass count scales roughly as passes ≈ 27.5 × thickness^2.23. This predicts thinner recipes well (e.g., 0.3 mm needs about 2 passes, 0.5 mm needs around 6). Remember, pass count, not power, is the primary lever for getting through. Turning up the power on a stubborn cut often just widens the kerf and heats the piece without improving penetration.
Engraving for Depth: Enamel-Ready Silver
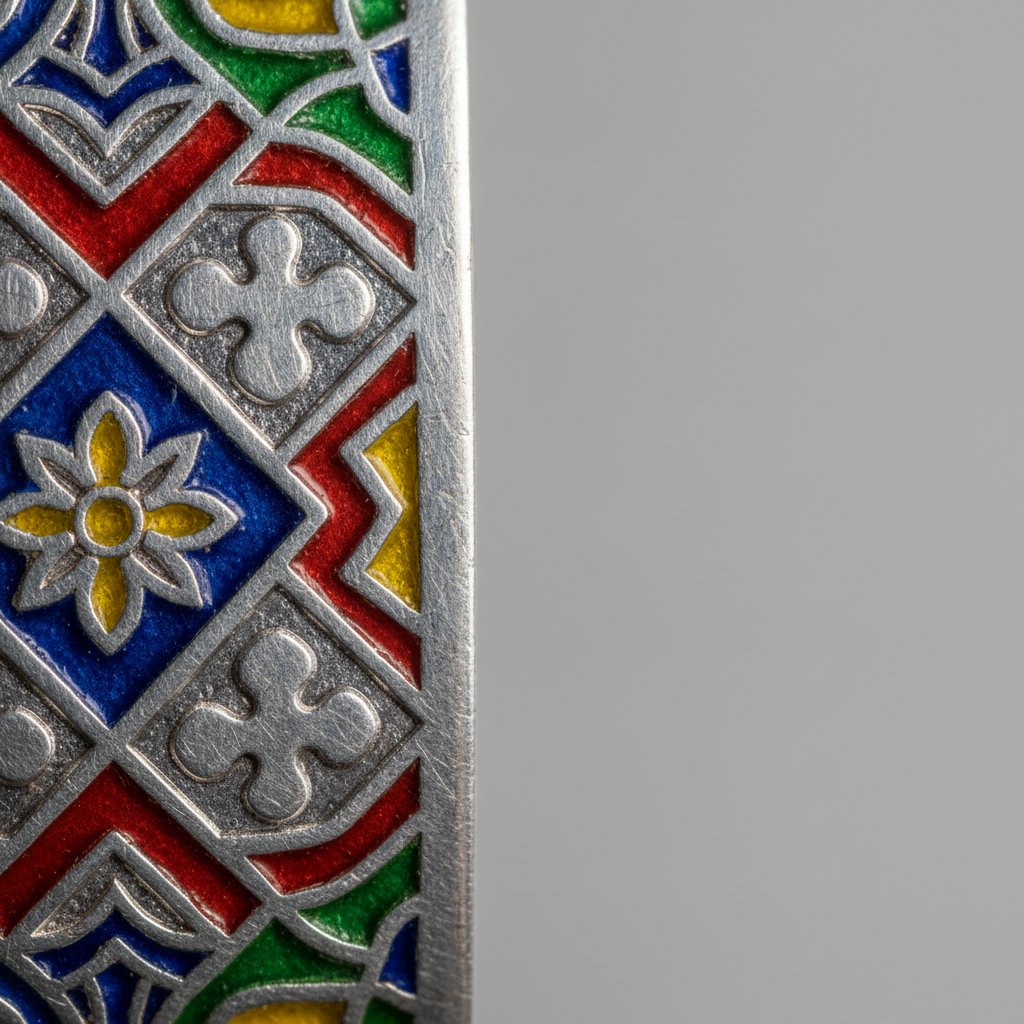
For jewelry that needs to be filled with enamel, you need real depth, not just a surface mark. Our confirmed recipe for deep engraving silver that holds enamel is: 100 % power, 600 mm/s, 30 kHz, 10 passes. The key here, as mentioned, is the lower frequency (30 kHz) for fatter, more powerful pulses. More passes at this recipe will take you deeper. After engraving and enamel filling, we sand the surface flat and polish it, which requires sufficient engraving depth to prevent removing the enamel.
Beyond the Beam: Optimizing for Detail and Reliability
Even with the right laser settings, other factors can ruin your work on silver.
Kerf Compensation: Keeping Fine Detail Alive
Your drawing has zero-width lines, but the laser spot has a physical width. Every marked line comes out fattened by roughly half a spot diameter on each side. On detailed engravings like portraits or fine line art, this fattening closes the tiny unmarked gaps that define the detail, turning your image into a blurry mess.
The solution is to digitally shrink the area you intend to mark by about half a spot diameter before sending it to the laser. The laser spot then fattens it back to the correct size, preserving the white gaps and the detail. We typically use 0.05 mm as a default compensation value and tune it from there. Too much compensation, and the fill starts to break up; too little, and the detail is lost. This is the same idea as kerf compensation in cutting, but applied to engraving fills. If you want to learn more, we wrote an article on this: Your Engraving is a Black Blob: The Spot is Wider Than Your Drawing.
A word of caution: if you shrink the marked area, any lines in your original artwork that were already thinner than the laser spot (or close to it) may disappear entirely. You might need to detect these fine features and mark them separately as single lines at their original size.
Stray Lines and Jumps: Cleaning Up Your Engravings
Have you ever seen faint, straight lines across your engravings that weren't part of the design? Those are the laser's "jumps"—travel moves between marks where the beam is supposed to be off. We found two main causes:
- Jumping too slowly: We once thought a slower jump speed would prevent beam leakage. The opposite is true. A slow jump gives the tail of the beam time to drag a visible line across the work. The default EzCad3 jump speed of 2000 mm/s is fast for a reason; dropping it to 60 mm/s made our detailed engravings unusable.
- Laser Off TC too short: This setting (e.g., 100 µs in EzCad3) is the delay after a mark before the head jumps. If it's too short, the machine starts moving while the beam is still faintly active, drawing stray lines.
A detailed photo engraving can have tens of thousands of jumps. Even a tiny leak per jump will create a visible mesh. We also found that ordering the fill so jumps stay short and land on already-marked (dark) areas helps hide any residual leakage instead of drawing it on clean metal.
When the Machine Stops Cutting: The Buffer Problem
This failure mode looks exactly like "my laser got weaker." On large cutting jobs with many passes, the PC sends commands to the controller board, which has a finite buffer (a few megabytes on our board). If the PC sends commands faster than the board can process them, further commands can be silently dropped. You might think you're sending 39 passes, but the metal only receives 25.
We caught this when a job that should have taken 147 seconds of marking only fired for about 25 seconds. The usual reaction is to increase the pass count, which masks the underlying problem. The fix is flow control: ensure your software doesn't send more than a few seconds of marking ahead of what the board has actually played. After implementing this, our pass counts for large jobs dropped dramatically because all the passes we sent finally arrived. You can read more about this specific issue here: Why Your Laser Stops Cutting Mid-Job (It's Not the Laser).
Working with Gold: The Easier Metal
As mentioned, gold is significantly easier to laser than silver due to its lower reflectivity. The laser beam transfers energy into gold much more efficiently. If you've only ever worked with silver, trying gold will feel like your machine got a significant upgrade.
The good news is that for cutting, the underlying recipe parameters don't change from silver: we still use 95 % power, 190 mm/s, 60 kHz, with wobble on. Only the number of passes changes. This means you don't need to learn an entirely new set of parameters, just adjust the pass count downwards.
Our workshop's gold table below gives you a starting point for pass counts. These numbers are derived from our silver measurements, scaled down for gold, not directly measured on gold in our workshop. They are a good initial estimate, but you must prove them on scrap of your specific gold alloy.
| Sheet thickness (mm) | Gold passes (starting point) |
|---|---|
| 0.25 - 0.4 | 2 |
| 0.5 | 3 |
| 0.6 | 4 |
| 0.7 | 6 |
| 0.8 | 9 |
| 0.9 | 11 |
| 1.0 | 14 |
For comparison, our measured sterling silver needs 17 passes for 0.8 mm, 21 for 0.9 mm, and 28-29 for 1.0 mm at the same settings. As you can see, gold needs roughly half the passes.
Always start with a lower pass count and work your way up. A cut that doesn't go through just needs one more pass; one with too many passes will widen the kerf, overheat the piece, and potentially distort thin sections. Gold is expensive to learn on, so use scrap!
Keep in mind that karat and alloy change everything. 18k yellow gold is not the same as 14k, and white gold, with its different alloying metals, will behave differently again. This table assumes a typical yellow gold alloy.
Practical Takeaways for Your Bench
Here are the key lessons we learned about working with precious metals on a fiber laser:
- Calibrate relentlessly: Every new material, new thickness, or even a new supplier needs to be calibrated on scrap. Change one variable at a time and write down your winning recipes completely (material, thickness, power, speed, frequency, passes, focus height). "It worked last month" is not a setting.
- The black edge is normal: Cutting or deep-engraving silver will leave an oxidized, dark edge. This is expected. Our routine is to polish and bring the shine back after marking. Plan your designs to survive this polishing process; fine, shallow details can be softened or removed.
- Paint it black: For very reflective silver that simply refuses to absorb the beam, a crude but effective trick is to paint the surface with a thin coat of matt black spray paint, mark through it, then clean it off. The black coating absorbs the laser, transferring heat to the silver.
- Choose the right lens: The F-theta lens determines your field size (e.g., 110 x 110 mm). A shorter lens concentrates the same power into a smaller spot, delivering higher power density, which is ideal for small jewelry pieces where you want maximum cutting and engraving power. A larger field spreads the power, resulting in weaker and coarser work. We discuss this more in Fiber Laser Field Size: Choosing the Right Lens for Jewelry.
- Focus on flatness: Small parts don't need clamping with a laser; the beam has no mechanical force. What matters is that the part lies perfectly flat on your platform and at the correct height, otherwise it will go out of focus.
- Silver is the hardest case: Never judge your machine, your recipes, or your own skill solely on silver. It's the most challenging common material for a fiber laser. If you can make silver work, everything else will feel easier.