Your Engraving is a Black Blob: The Spot is Wider Than Your Drawing
When your laser engraving comes out too dark or turns into a black blob, the most common reason is that the laser's physical spot is wider than the fine details in your drawing. We've been there. Here’s what we learned.
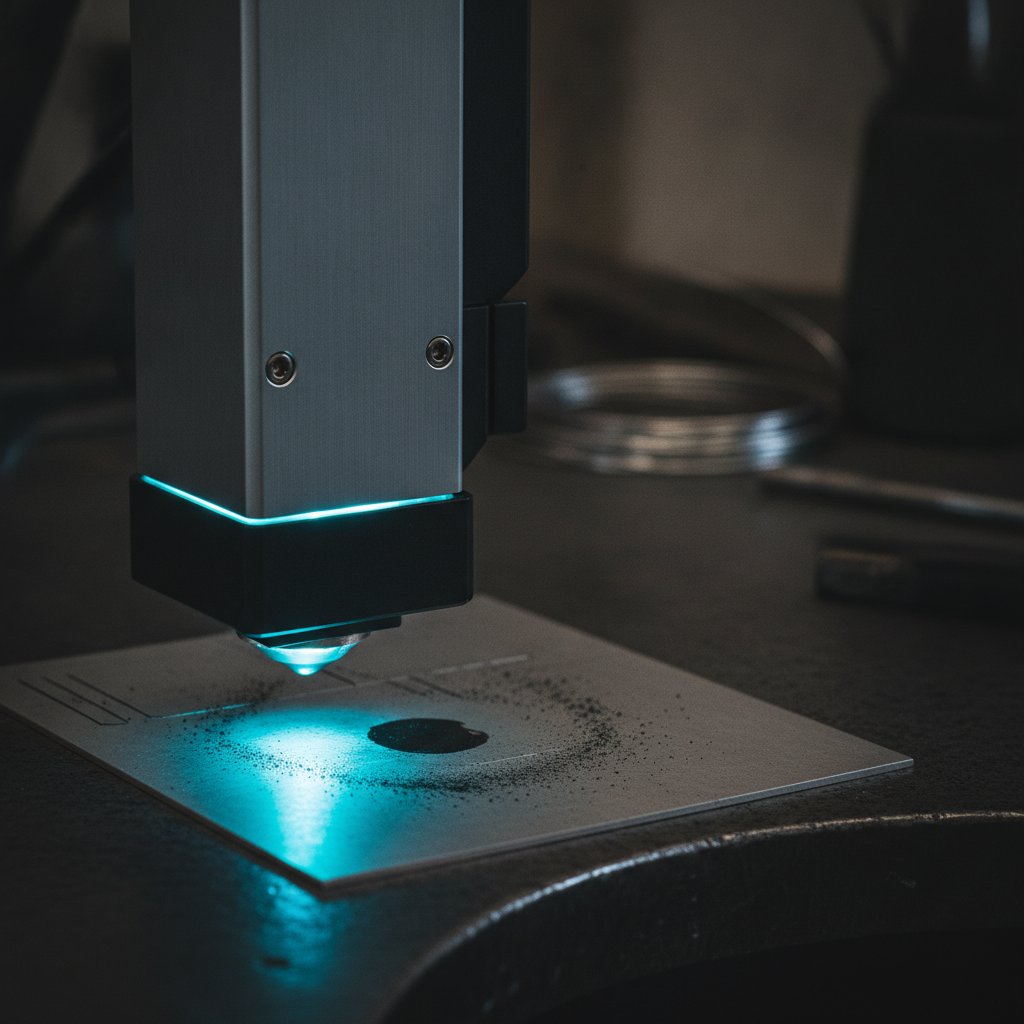
If your laser engraving came out as a black blob, or the fine lines in your design turned into a shapeless mess, the problem is almost certainly that your laser spot is wider than the lines you drew. Your perfect digital drawing has zero-width lines, but the physical laser beam has width, and every mark it makes is fattened. This closes up the small gaps that create detail, especially on intricate designs or photographs. On our workbench, this was the single biggest cause of engravings turning into "mush."
The Invisible Problem: Your Laser Spot Has Width
In a detailed image like a portrait or fine line art, the detail is the white gaps – the tiny unmarked spaces that make hair, eyes, and textures readable. When the laser spot fattens every marked line, it inevitably closes these crucial gaps. The geometry you send to the machine might be perfect, but the physical mark is not.
We proved this by taking a correct geometry and digitally thickening it by 0.08 mm. The result was pixel-for-pixel the messy, blob-like engraving that came out of our machine. It showed us that our artwork wasn't the problem; the physical reality of the laser spot was.
The Fix: Kerf Compensation for Engraving
The solution is similar to kerf compensation in cutting: you need to shrink the area to be marked by about half a spot diameter before marking. The laser spot then fattens it back to the correct size, preserving the white gaps and the detail. We use 0.05 mm as a default compensation in our workshop and then fine-tune it from there. More compensation results in finer and cleaner details; too much, and the fill starts breaking up.
Before you run any job, make sure you and anyone in the room are wearing laser safety glasses rated for 1064 nm and suitable for your source power. A fiber marking laser is Class 4, and its invisible beam and reflections cause instant, permanent eye damage. Always use proper extraction, and never leave a running job unattended.
When Strokes Are Thinner Than Your Spot
A trap you can fall into with spot compensation is that if you shrink the area to be marked by half a spot, any stroke that was already thinner than the spot will shrink to nothing and disappear completely from the job. This means the fine line work in your drawing is exactly what vanishes first.
The symptom is clear: after adding spot compensation, your piece looks cleaner, but small details are simply missing. No amount of extra power will bring them back, because the machine was never told to mark them in the first place. The fix is to detect what the shrunken version will no longer cover, and then mark those thin features at their real size as one or two single lines. This way, you get clean compensated fills, and your fine strokes survive.
Engraving Parameters That Contribute to a Wider Mark
Beyond the inherent width of the laser spot, several parameters in your EzCad3 pen settings can make your engraving wider, deeper, and darker, leading to a blob-like appearance if not managed carefully.
Too Much Energy Per Pulse
The actual engraving depth per pass follows the energy per pulse, roughly average power divided by frequency, not just the wattage on the label. This was a genuinely counter-intuitive lesson for us: our 100 W source initially engraved shallower than a 30 W machine on the same material.
We were engraving silver at 40 kHz and 700 mm/s, while the 30 W machine was at 30 kHz and 500 mm/s. The 30 W machine's individual pulses were "fatter," meaning they delivered more energy per shot, so it dug faster despite having a third of the average power.
Rule of thumb: For maximum depth and impact (which can lead to wider, darker marks if overdone), lower the frequency before you raise the power. For fine surface marking and clean detail, a higher frequency is generally better.
Speed Too Slow
The Speed parameter dictates how fast the galvos drag the laser spot across the material. A slower speed means the laser spends more time over each millimeter, delivering more energy. While this can achieve deeper marks, if it's too slow, you start melting the silver instead of ablating it cleanly. This can result in rounded edges and a wider, less precise mark.
Multiple Passes (Loops)
The Passes or Loops setting tells the machine to repeat the entire engraving geometry multiple times. This is the most honest and predictable way to achieve depth. However, each pass adds more energy and can contribute to a wider, darker mark, especially if combined with other aggressive settings.
For context, our standard silver engraving uses 5 passes, but for engravings meant for enamel filling, we use 10 passes to ensure sufficient depth.
The Contour Pass Trap
EzCad3 often enables a "contour pass" by default, which adds an extra outline pass around a filled area. While this can make small text crisper by defining the edges, it also thickens everything slightly. For delicate designs, or when trying to avoid a blob-like appearance, this extra pass can be detrimental. We found that a reference machine we compare against engraves with fill ONLY, no contour pass, and its result is cleaner for smooth photographic fills. It helps small text, but it can hurt smooth, detailed fills.
Stray Lines and Jumps: Adding to the Visual Mess
While not a "black blob" in the same way spot size is, stray straight lines across your engraving add to the overall visual mess and can make an engraving look darker and less refined. For us, these lines were a significant source of frustration for weeks.
These lines are not part of your fill pattern; they are the JUMPS – the travel moves between marked segments, made with the beam supposedly off. Even a tiny laser leak, repeated thousands of times in a detailed engraving, can paint a visible mesh over your work. Two main causes we identified:
- Jumping too slowly: We mistakenly lowered the
Jump speedto 60 mm/s, thinking a slow jump would leak less. The opposite is true: a slow jump gives the tail of the beam more time to drag a visible line. Back at EzCad3's default 2000 mm/s, the marks disappeared, and jobs ran much faster. - Laser Off TC too short: The
Laser Off TC(Time Constant) is a delay after the last mark of a segment before the head jumps away. Its job is to ensure the laser beam actually dies. If it's too short (ours was far shorter than EzCad3's 100 µs), the machine starts jumping while the beam is still live, drawing faint lines.
Optimizing your fill strategy so that jumps stay short and land on already-marked (dark) areas can also significantly reduce the visibility of these residues, even if they're not completely eliminated.
Material Matters: Why Silver is Your Hardest Teacher
One of the most useful things to understand when troubleshooting engraving issues is how your material interacts with the laser. A fiber laser at 1064 nm has to be absorbed to do anything; the more the metal reflects, the more power bounces off instead of doing work.
Silver is the most reflective of the common precious metals and an excellent heat conductor. This means it both rejects the laser beam and quickly carries away any heat that does get in. That's why engraving sterling silver requires so many passes and often higher power settings compared to other metals. Gold, for example, reflects less and is much easier to engrave and cut. If you've only ever worked on silver, you'll be surprised how much "better" your machine feels on gold.
For very reflective silver, a common workaround is to paint the surface matt black, engrave through the coating, and then clean it off. The coating absorbs the laser energy, transferring it as heat to the silver beneath. This isn't elegant, but it's what the physics demands.
Practical consequence: Never judge a machine, a recipe, or your own skill on silver alone. It is the hardest common case, not the average one.
Our Troubleshooting Checklist: Where to Start
When your engraving comes out as a black blob, or lacks detail due to marks spreading, here’s a practical sequence of steps we would take in our workshop:
1. Check for Kerf/Spot Compensation
This is often the primary culprit for lost detail.
- Review your artwork: Have you applied a negative offset or "inset" to the areas you intend to fill? We start with 0.05 mm.
- Look for missing thin lines: If details are gone, they might have been compensated away. Identify these and mark them separately as single lines.
2. Review EzCad3 Pen Parameters
Small adjustments here can make a big difference. Here’s a table of parameters and their impact on mark width/darkness:
| Parameter | Impact on Width/Darkness | Recommended Action for Cleaner Engraving |
|---|---|---|
Frequency (kHz) |
Lower frequency = higher energy per pulse, deeper/wider mark. | Increase frequency for finer detail; decrease for depth. |
Speed (mm/s) |
Slower speed = more energy per mm, deeper/wider mark. | Increase speed slightly for lighter, cleaner marks. |
Passes (LOOP) |
More passes = deeper/wider cumulative mark. | Reduce passes if depth isn't critical. |
Contour Pass |
Adds an extra outline, slightly thickening the mark. | Disable for smooth photographic fills or to reduce overall width. |
Power (%) |
Higher power = more energy, deeper/wider mark. | Reduce power for lighter surface marks. |
3. Address Stray Lines (Jumps)
While not strictly a "blob," stray lines contribute to a visually messy and dark engraving.
- Check
Jump speed: Ensure it's high, like EzCad3's default 2000 mm/s. - Check
Laser Off TC: Make sure it's long enough (e.g., 100 µs) to ensure the beam is truly off during jumps. - Consider fill order: Can you arrange the fill to keep jumps short and on already-marked areas?
Troubleshooting laser engravings takes patience and systematic testing on scrap material. By understanding how the laser spot interacts with your design and material, you can dial in your settings for clean, detailed results.