Engraving Depth: Why Your 100W Fiber Laser Can Engrave Shallower Than a 30W
It sounds counter-intuitive: a 100W fiber laser engraving less deeply than a 30W one. We explain the physics of pulse energy and frequency, and how our workshop solved it.
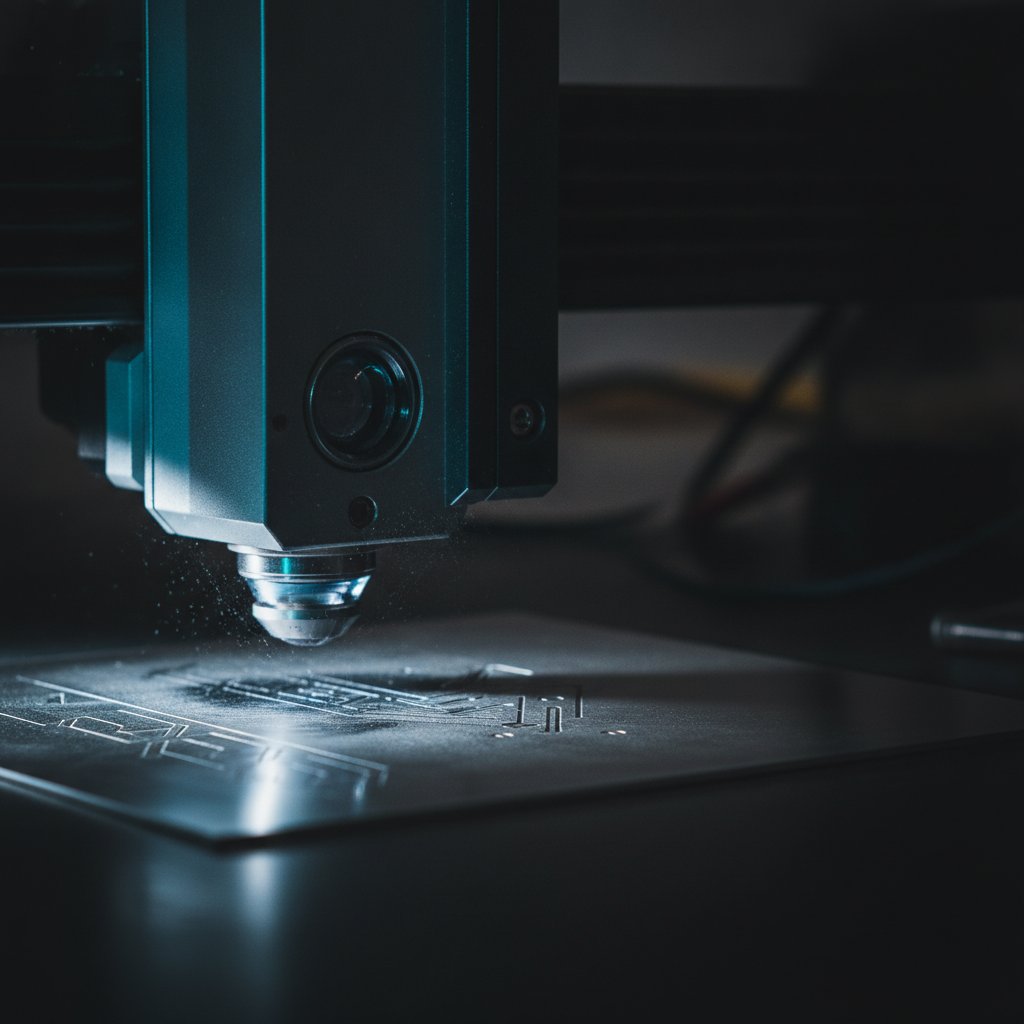
You have a powerful 100 W fiber laser, but your engraving depth is disappointing, sometimes even shallower than what you have seen from a much lower-power 30 W machine. The reason is that engraving depth is not just about the average power on the label; it is about the energy delivered in each individual laser pulse, which you control through settings like frequency and pulse width.
The Counter-Intuitive Truth: Watts Aren't Everything
When we first started deep engraving sterling silver for enamel filling, we ran into a frustrating problem: our 100 W MOPA fiber laser was not digging as deep as we expected. We kept turning up the power, slowing down the speed, adding more passes – and while it helped, the result was still not quite there. The really confusing part was seeing results from other workshops using 30 W machines that achieved similar or even better depth in the same number of passes. This felt fundamentally wrong.
The breakthrough came when we understood the difference between average power and pulse energy. Think of it like this: a high-power laser is like a very fast jackhammer. It delivers a lot of energy over a second. But if that jackhammer is tapping very, very quickly with tiny taps, it might not break a thick slab of concrete as effectively as a slower, heavier sledgehammer that hits with more force in each individual strike.
Your laser's wattage (100 W, 30 W) refers to its average power output. But for engraving depth, especially on reflective metals like silver, the crucial factor is how much energy is packed into each single pulse that hits the metal. Each pulse needs enough "oomph" to ablate (vaporize) a tiny bit of material, rather than just melting the surface or getting reflected away.
Safety First: A Quick Reminder
Before we go further, remember that a fiber marking laser is Class 4. The 1064 nm beam is invisible and causes instant, permanent eye damage from direct exposure or reflections. Always wear laser safety glasses rated for 1064 nm with an appropriate OD for your source power, and ensure everyone in the room does the same. Metal marking produces fine particulate; proper extraction with a filter is health equipment, not an accessory. Never leave a running job unattended.
Frequency and Pulse Energy: The Real Levers for Depth
Most fiber lasers pulse thousands of times per second. The frequency setting (in kilohertz, kHz) tells the laser source how many pulses to emit per second. Here is the key relationship:
Energy per pulse ≈ average power ÷ frequency
What this means in practice is that if you keep your average power (your percentage power setting in EzCad3) constant, then:
- Higher frequency means the same total power is spread across more individual pulses, so each pulse is weaker.
- Lower frequency means the same total power is concentrated into fewer individual pulses, so each pulse is stronger and has more energy.
This was the missing piece for us. We were initially engraving sterling silver at 95 % power and 40 kHz. The 30 W machine that was outperforming us was running at 30 kHz. While our 100 W source had far more average power, our individual pulses at 40 kHz were not as "fat" or energetic as the individual pulses from the 30 W machine running at a lower frequency. Their slower, harder hits were simply digging deeper per pass.
Pulse Width on MOPA Sources
If you have a MOPA fiber laser source, you have an additional, very powerful lever: pulse width. Unlike Q-switched sources which have a fixed pulse width, MOPA sources let you set the duration of each pulse in nanoseconds (ns). Our MOPA source offers pulse widths from 2 ns up to 250 ns.
- Longer pulses (e.g., 150-250 ns) deposit more energy into each shot. These are ideal for depth, engraving, and cutting.
- Shorter pulses (e.g., 2-20 ns) are gentler. They are what you need for delicate color marking on stainless steel or marking sensitive plastics and anodized aluminum without scorching.
Our go-to recipe for silver engraving uses a pulse width of 200 ns. This works in conjunction with a lower frequency to maximize the energy of each impact, pushing for maximum material removal.
Dialing In for Depth: Our Workshop Recipe
The biggest improvement for us came from dropping our engraving frequency. We experimented and found that a lower frequency, combined with high power and a long pulse width, finally gave us the depth we needed for jewelry work.
Our confirmed recipe for engraving sterling silver that gets filled with enamel is:
- Power: 100 %
- Speed: 600 mm/s
- Frequency: 30 kHz
- Passes: 10 passes
- Pulse Width: 200 ns (on our MOPA source)
This recipe, tested on our machine with our silver, finally matched the depth we had seen from that 30 W machine in the same number of passes. Remember, these are settings from our specific machine and material; always prove any recipe on scrap of the same alloy and thickness before applying it to a valuable piece.
It is worth noting that this behavior is often the opposite of what you want for cutting. For cutting through metal, we find that a higher frequency (like our 60 kHz setting for silver cutting) is more effective. This is because cutting requires a rapid, continuous removal of molten material, and high-frequency pulses help maintain a stable melt pool and eject material more efficiently. We discussed this in more detail in our article Cutting Sterling Silver Sheet: Real Fiber Laser Settings.
Other parameters also play a role in depth:
- Speed: Slower speeds mean more pulses hit the same area, increasing energy density and depth. However, go too slow, and you risk melting and rounding edges instead of ablating cleanly.
- Passes / Loops: This is the most straightforward way to get depth. More passes, more material removed. It is the honest way to achieve significant depth reliably.
For a full breakdown of all your EzCad3 pen parameters, you can also check out Every EzCad3 Pen Parameter, Explained for Jewelers.
Engraving for Enamel Filling: Why Depth Matters
In jewelry, an "engraving" for enamel is not just a surface mark; it is a recess. This recess needs to be deep enough to hold the enamel securely and allow for a professional finish. Our goal is always to create sharp, vertical-ish walls that trap the enamel, rather than sloped, melted edges.
The typical process we follow for enamel-filled jewelry is:
- Engrave the recess using a deep engraving recipe like the one above. The depth needs to accommodate the enamel and any subsequent finishing.
- Apply the enamel into the recess, filling it generously.
- Clean off any excess enamel from the surface of the metal around the engraving, ensuring the color stays only where intended.
- If using kiln enamel, fire the piece.
- This is where depth becomes critical: after firing, you can sand the surface flat and then polish it. This step removes any slight overfill and levels the enamel with the surrounding metal, creating a beautiful, flush finish. If your engraving is too shallow, sanding will simply remove the enamel from the recess, ruining the piece.
Ensuring crisp walls for enamel is also where techniques like spot compensation become valuable. By shrinking the area to be marked by roughly half a spot diameter before engraving, the laser's physical spot size fattens the line back to the correct dimension, preserving detail and creating cleaner edges for your enamel to adhere to.
Practical Takeaways for Your Bench
If you are struggling to get the engraving depth you need, especially on challenging materials like sterling silver, here is what we learned and what we would do first:
- Prioritize Frequency for Depth: If your machine is powerful, but your depth is lacking, experiment with lowering your frequency. This is often the most impactful setting to increase individual pulse energy. Remember the rule: lower frequency = stronger individual pulses.
- Maximize Pulse Width on MOPA Sources: If you have a MOPA source, ensure you are using long pulse widths (e.g., 150-250 ns) for deep engraving.
- Speed and Passes are Your Friends: Once you have optimized pulse energy, use slower speeds and more passes to refine your depth.
- Calibrate on Scrap: Always test new settings on scrap material of the same alloy and thickness. Never guess or trust a recipe blindly, even ours. Write down every successful setting.
- Don't Confuse Cutting and Engraving: The ideal frequency for deep engraving (low) is often the opposite of what you need for efficient cutting (high).
- Watch for Quality Issues: When pushing for depth, keep an eye on details. Issues like stray lines from jumps or fuzzy details from uncompensated spot width can ruin a deep engraving just as easily as a shallow one.
Understanding how frequency and pulse energy work changed our engraving results dramatically. It allowed us to harness the true potential of our 100 W laser and consistently produce the deep, clean engravings our jewelry requires.