Every EzCad3 Pen Parameter, Explained for Jewelers
Struggling with EzCad3's pen parameters? We break down every setting—speed, power, frequency, pulse width, Laser Off TC—with practical examples from our silver jewelry workshop.
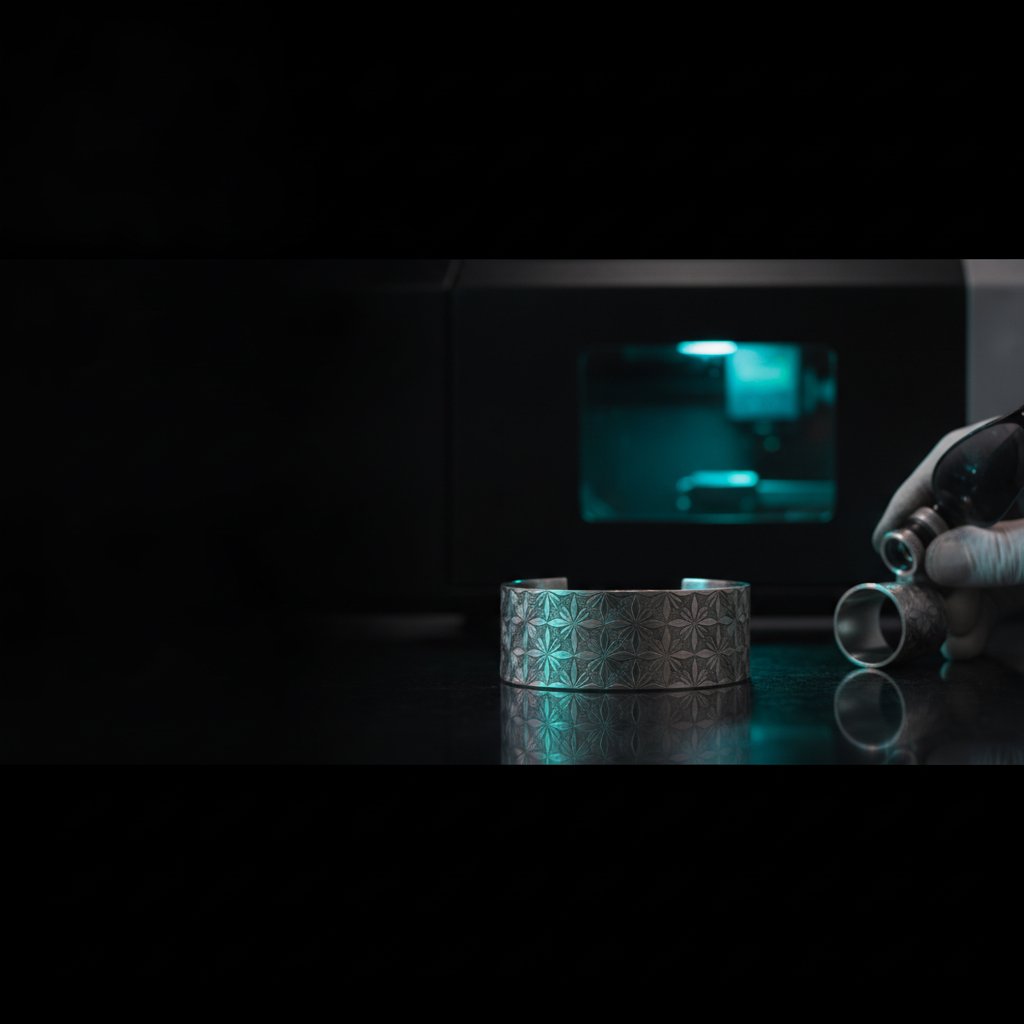
If you run a fiber laser with a JCZ controller, you know that EzCad3 is the software that drives it. And if you've ever tried to dial in a new material or a tricky engraving, you've stared at the list of EzCad3 parameters in the pen settings, wondering what each one actually does. Our workshop in Málaga has been there, losing silver to problems we just couldn't solve because we didn't understand the settings.
This article is the guide we wish we'd found two years ago. We'll explain every common EzCad3 pen setting, one by one, using analogies and grounding them in what happens on the bench with sterling silver.
The Core Trio: Speed, Power, and Frequency
These three settings are often adjusted together, and understanding their individual effects is key to getting the results you want, whether cutting or engraving.
Speed: How Fast the Spot Moves
The Speed parameter in EzCad3 controls how fast the galvo mirrors drag the laser spot across your material. Think of it like driving a car: the faster you go, the less time you spend in any one spot.
- In practice: Slower speeds mean more laser energy is deposited per millimeter, leading to deeper and wider marks or cuts. Go too slow, however, and you risk overheating the material, leading to melting or unwanted distortion instead of clean ablation. Our typical silver cutting speed is 190 mm/s, while engraving might be 700 mm/s for a surface mark, or 600 mm/s for deep engraving.
Power (%): The Average Energy
Power (%) sets the average power output of your laser source as a percentage of its maximum. On our 100 W MOPA source, for instance, 95% power delivers 95 watts of average power.
- In practice: While seemingly straightforward, power isn't the whole story. As we'll see with frequency, the same average power can deliver very different results depending on how that power is delivered. For our cutting operations, we often run at 95% power, but for deep engraving, we push it to 100%.
Frequency (kHz): Pulses Per Second
The Frequency (kHz) parameter dictates how many individual laser pulses are fired per second. This is one of the most counter-intuitive, yet critical, EzCad3 parameters.
- The analogy: Imagine two weapons. One is a machine gun firing many small bullets (high frequency). The other is a cannon firing fewer, much larger shells (low frequency). If both deliver the same average destructive power over time, the cannon's individual shots will dig much deeper.
- In practice: The energy per pulse is roughly your average power divided by your frequency.
- For depth (engraving or cutting through): Lowering the frequency (e.g., to 30 kHz or 20 kHz) while keeping power high means each individual pulse carries more energy. These "fatter" pulses dig deeper into the material. We found this out the hard way: our 100 W MOPA, engraving at 40 kHz, was shallower than a 30 W machine running at 30 kHz, simply because the 30 W machine's individual pulses were more energetic. Dropping our frequency to 30 kHz was the big lever for getting real depth for enamel filling.
- For fine surface marking and clean detail: Higher frequencies (e.g., 60 kHz or more) produce weaker, gentler pulses. This is better for delicate surface marks or when you want to avoid excessive heat and melting. For cutting silver, our workshop uses 60 kHz, as we found it cuts through much more cleanly than lower frequencies.
MOPA-Specific: Pulse Width
If you have a MOPA fiber laser source, you'll have a Pulse Width (ns) setting. Q-switched lasers do not offer this control.
- Explanation: This controls the duration of each individual laser pulse in nanoseconds. Our source, for example, offers pulse widths from 2 ns up to 250 ns.
- In practice:
- Long pulses (150-250 ns): These deposit more energy per shot and are ideal for deep engraving, material removal, and cutting. Our silver engraving recipe uses 200 ns.
- Short pulses (2-20 ns): These are gentler, creating less heat and allowing for precise surface interactions. They are essential for applications like color marking on stainless steel or marking plastics and anodized aluminum without excessive burning.
Note that pulse width is a source setting; it retains the value you set until you change it and doesn't typically travel with individual job pens in EzCad3.
The Hidden Timings: TC Parameters and Jump Settings
These are the parameters that often cause the most head-scratching and infuriating stray marks. Understanding them is crucial for clean work.
Laser Off TC (µs): Letting the Beam Die
The Laser Off TC (Time Compensation) parameter sets the delay after the laser finishes marking a segment before the galvo head is allowed to jump to the next segment. Its job is to ensure the laser beam has completely died out.
- The analogy: Imagine painting a line, then immediately lifting your brush and moving it to the next spot while the paint is still wet on the bristles. You'd drag a faint, unwanted line. The Laser Off TC is like waiting for the paint to dry on the brush before you move it.
- In practice: If your Laser Off TC is set too short, the machine starts jumping while the beam is still live. This causes faint, unwanted lines to be "drawn" across your work as the head moves between marked areas. This was a major source of frustration in our workshop. We now use EzCad3's default of 100 µs for our silver engraving, and it fixed many stray line issues. This is a critical EzCad3 pen setting to get right.
Jump Speed (mm/s): How Fast You Move Between Marks
This parameter defines how fast the galvo head travels between marked segments when the laser beam is turned off.
- Counter-intuitive but critical: Our workshop initially thought that a slower jump speed would prevent the laser from "leaking" and marking. We lowered it to 60 mm/s. This was a huge mistake. A slow jump gives any residual beam "tail" more time to drag a visible, albeit faint, line across the work.
- In practice: The opposite is true. A faster jump speed reduces the time any residual beam has to interact with the material. We moved our jump speed back to EzCad3's default of 2000 mm/s, and many of our stray marks disappeared. Not only did it fix the marks, but the job ran much faster too. This single change fixed a portrait engraving that had been unusable due to a mesh of faint lines.
Min/Max Jump TC (µs) and Polygon TC (µs): Corner and Start/End Delays
These "Time Compensation" parameters introduce small delays to allow the galvos to settle at specific points:
- Polygon TC: A delay at the corners of vector shapes. Higher values can lead to sharper corners but slow down the job.
- Min/Max Jump TC: Delays at the start and end of jump movements.
- In practice: These trade sharpness and precision against overall marking speed. For most detailed jewelry work, keeping these at EzCad3's defaults (like 100 for Polygon TC, 10/85 for Min/Max Jump TC) is a good starting point.
Shaping Your Mark: Contour and Spot Compensation
These settings dictate the final appearance and fidelity of your marked designs.
Contour: An Outline Pass
When you fill an area (hatch), EzCad3 often enables a Contour pass by default. This marks an extra outline around the filled area.
- In practice:
- Helps: Small text often looks crisper with a contour pass, as it defines the edges clearly.
- Hurts: For smooth photographic fills or intricate designs, a contour pass can slightly thicken everything, reducing detail and potentially creating unwanted "halo" effects around the fill. A reference machine we compare against engraves with fill only, no contour pass, and its result is often cleaner for smooth fills.
Spot Width and Compensation: The Real Kerf
Your design software draws lines with zero width. Your laser does not. Every marked line or engraved edge comes out fattened by roughly half a laser spot diameter on each side.
- The analogy: Imagine trying to draw a detailed pencil sketch using a thick marker pen. All the fine lines and small white gaps that make up the detail will be filled in and become a black blob.
- In practice: On detailed engravings—fine line art, small text, or photo engraving—this fattening closes the small white gaps that actually define the detail. The geometry you send is perfect; the physical mark isn't. We proved this by digitally thickening our correct geometry by 0.08 mm, and the result was pixel-for-pixel the mess that came out of the machine.
- The fix: You must shrink the area to be marked by about half a spot diameter before marking. The laser spot then fattens it back to the correct size, and the white gaps survive. This is the same principle as kerf compensation in cutting, but applied to engraving fills. Our workshop uses 0.05 mm as a default compensation and tunes from there: more compensation means finer and cleaner detail, but too much will start breaking up the fill.
Real-World Recipes from Our Bench
Here are some of the EzCad3 pen settings and recipes we use daily in our jewelry workshop for sterling silver. Remember, these are our machine, our source, and our material—always test on scrap before applying to a valuable piece.
Cutting Sterling Silver
For cutting sterling silver sheet on our 100 W MOPA fiber laser, we use these core settings:
- Power: 95 %
- Speed: 190 mm/s
- Frequency: 60 kHz
- Wobble: Enabled (crucial for ejecting melt and preventing re-welding)
The number of passes varies significantly with thickness:
| Silver Thickness (mm) | Passes (approx.) |
|---|---|
| 0.3 | 2 |
| 0.5 | 6 |
| 0.8 | 17 |
| 0.9 | 21 |
| 1.0 | 28-29 |
Pass count, not power, is the lever for getting through. Turning the power up on a job that won't cut usually just widens the kerf and heats the piece excessively.
Engraving for Enamel Filling
Jewelry that will be filled with enamel needs real depth, not just a surface mark. The recess has to hold the enamel securely. For this, we prioritize individual pulse energy by lowering the frequency:
- Power: 100 %
- Speed: 600 mm/s
- Frequency: 30 kHz
- Pulse width: 200 ns (for our MOPA source)
- Passes: 10
More passes at these settings is the predictable way to go deeper. Sharp, vertical-ish walls hold enamel better, which is another reason to compensate for the spot width instead of letting the mark spread.
Fixing Stray Lines: A Workshop Breakthrough
As discussed, those infuriating "random" lines across your engraving are almost always the laser leaking during jumps. For us, it boiled down to two issues:
- Jumping too slowly: Our initial mistake was lowering the jump speed. Returning it to 2000 mm/s made a dramatic difference.
- Laser Off TC too short: We were jumping with a live beam. Setting the Laser Off TC to 100 µs ensured the beam died before the head moved.
A detailed photo engraving can contain more than ten thousand jumps. At that count, even a tiny leak per jump paints a visible mesh. Ordering the fill so jumps stay short and land on already-marked (dark) areas also helps to hide any residual leakage. Getting these parameters right also relies on a perfectly dialed-in focus height, a topic we've covered in detail before in Fiber Laser Focus Height: Why Your Cuts Fail and How to Fix It.
Practical Takeaways for Your Workshop
After years of daily operation, these are the lessons we'd pass on:
- Test Everything on Scrap: Our numbers are a starting point for our machine and material. Your setup will be different. Always prove any recipe on scrap metal before touching a valuable piece.
- Understand Frequency: For depth (cutting through or deep engraving), prioritize lower frequency to get fatter, more energetic individual pulses. For fine, delicate surface marks, use higher frequencies.
- Compensate for Spot Width: If your detailed engravings or small text turn into blurry blobs, try shrinking the marked area by 0.05 mm or so in your design software. Your laser spot will fill it back out, preserving detail.
- Dial in Your Jump Settings: If you have stray lines, check your Laser Off TC (aim for 100 µs) and your Jump Speed (aim for 2000 mm/s). These two EzCad3 pen settings are critical.
Before we close, a critical reminder: a fiber marking laser is a Class 4 device. The invisible 1064 nm beam and its reflections cause instant, permanent eye damage. Always wear laser safety glasses rated for 1064 nm (with suitable OD) and ensure proper fume extraction. Never leave a running job unattended. Physical interlocks are your real safety.