Fiber Laser Focus Height: Why Your Cuts Fail and How to Fix It
Struggling with weak cuts on your fiber laser? The problem is often not power, but an incorrect focus height. We'll show you how to measure and set it correctly.
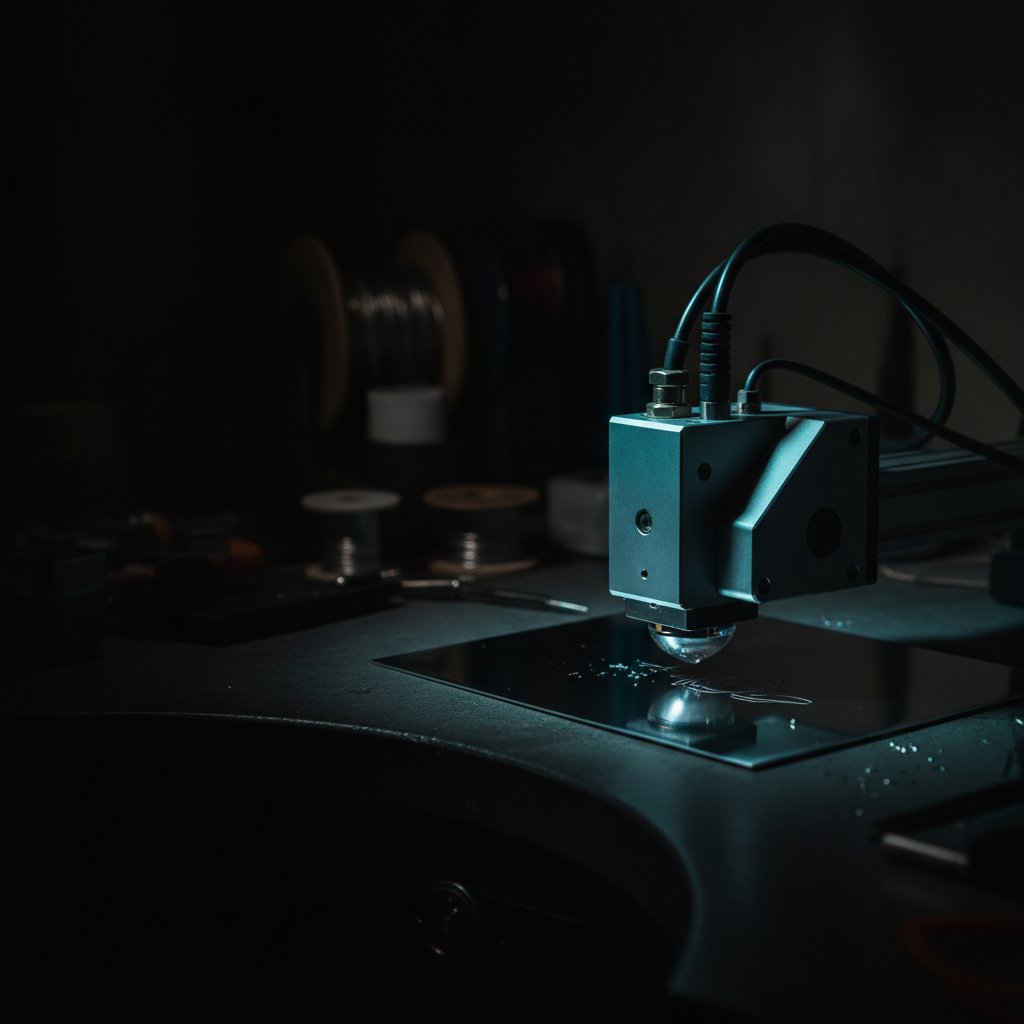
If your fiber laser isn't cutting through material as cleanly or efficiently as it should, or if you're suddenly struggling with thicknesses that used to be easy, the first thing to check isn't your power or speed. It's almost certainly your focus height. An incorrect focus height can ruin cuts, waste material, and make your laser seem far weaker than it is. In our workshop, fixing this single issue saved us countless hours and pounds of sterling silver.
What is Focus Height and Why Does it Matter So Much?
Your fiber laser's beam is focused to a tiny point, often called the "sweet spot" or the "focus." This is where the laser's energy density is highest, allowing it to cut or engrave efficiently. If your material isn't positioned exactly at this point, the beam hits it unfocused, spreading its energy over a larger area. Think of trying to light a fire with a magnifying glass – if you don't hold it at the perfect distance from the tinder, it just won't work.
For cutting, especially through metals like sterling silver, this precision is absolutely critical. The focal window – the tiny distance within which the laser is effective – is surprisingly narrow. On our machine, an error of just 2 mm from the true focus meant the difference between a clean cut and no cut at all. For months, we struggled with cuts that should have been simple, only to discover our Z-axis reference was off by about 2.1 mm. The impact was dramatic: once corrected, our pass counts for cutting dropped significantly.
Safety First: Before You Touch Anything
A fiber marking laser is a Class 4 device. This means its beam and reflections can cause permanent eye damage instantly and silently. The 1064 nm wavelength is invisible, so you'll never see the beam that blinds you. Always wear laser safety glasses rated for 1064 nm (with an OD suitable for your source power) whenever the laser is running, and ensure anyone else in the room is also protected. Metal is highly reflective, so reflections can go anywhere.
Never leave a running job unattended. Metal marking produces metal fume and fine particulate; proper extraction with a good filter is essential health equipment, not an accessory. Physical interlocks and enclosures are your real safety layer. Software interlocks are a convenience and can be overridden. Never treat software as your primary protection.
Finding Your Machine's "Zero": The Factory Focus Height
Your machine's factory-calibrated focus height is stored in a critical configuration file within EzCad3. This is the Z-axis position where the laser beam is perfectly focused on the surface of your machine's platform.
- Locate Your EzCad3 Installation: Most EzCad3 installations have a
PARAMfolder. This folder contains your machine's calibration files, includingMotors.ini,MarkParamlib.ini, and your galvo correction file. These files are the heart of your machine's setup and are worth backing up before you make any changes. - Open
Motors.ini: Use a simple text editor (like Notepad) to open theMotors.inifile. - Find
m_dFocusPos: Inside this file, look for a line that saysm_dFocusPos=. The number next to it is your machine's factory focus position in millimeters. On our machine, for example, this value is-59.6 mm. This number represents the Z-axis position where the laser is perfectly focused when the Z-axis is at that height.
This m_dFocusPos is your machine's absolute Z-axis "zero" for focus. It's the reference point from which all your material focus calculations will begin.
Calculating Your Working Focus: Material Thickness is Key
When you cut sheet material, the laser needs to focus on the top surface of that material, not the platform beneath it. Therefore, you need to adjust your Z-axis height by the thickness of your material.
The rule is simple: Z = focus + material thickness.
Let's use our machine's m_dFocusPos of -59.6 mm as an example. If you are cutting 1.0 mm thick sterling silver, your working focus height would be:
-59.6 mm (focus) + 1.0 mm (material thickness) = -58.6 mm
This means you need to move your machine's Z-axis to -58.6 mm for a perfect focus on the top surface of 1.0 mm silver. Here’s a quick table for various common silver thicknesses on our machine, always remember to verify these on your own setup:
| Material Thickness (mm) | Calculated Working Focus (mm) |
|---|---|
| 0.25 | -59.35 |
| 0.5 | -59.1 |
| 0.8 | -58.8 |
| 1.0 | -58.6 |
Why this calculation is crucial:
Even small errors here can drastically impact your cutting performance. As we found, being off by just 2 mm can completely prevent a cut. If your material is 0.5 mm thick, but you're still using the focus height for 1.0 mm material, you're already 0.5 mm out of focus. This might not stop the cut entirely, but it will certainly degrade it, requiring many more passes and leading to excessive heating of the material.
How to Set the Focus Height in EzCad3
Once you have your calculated working focus height, you need to input this into your machine through EzCad3. Your machine's Z-axis moves a specific number of steps per millimeter. On our machine, it's 3200 steps/mm (6400 pulses per 2 mm turn).
- Open EzCad3: Launch the software.
- Access the Z-Axis Control: Go to the "Parameter" menu (or similar, depending on your EzCad3 version) and look for a Z-axis control window or tab. This is usually where you can manually jog the Z-axis and set its absolute position.
- Input Your Calculated Working Focus: In the Z-axis control, there should be a field to set the absolute Z position. Enter your calculated working focus height (e.g.,
-58.6). - Move the Z-Axis: Click the "Move" or "Set Position" button to move the Z-axis to the exact height you specified.
- Verify (Optional but Recommended): Some machines have a physical focus rod or jig that allows you to visually verify the focus. If yours does, use it to double-check that your Z-axis height corresponds to the correct focus.
Remember that the Z-axis on our machine travels from 0 mm (top, home position) down to a soft limit of -135 mm. Your specific machine's range might vary, but the principle remains the same.
What Happens When You're Out of Focus?
An incorrect focus height is one of the most common reasons cuts fail, and it often presents itself as "my laser got weaker." If your cuts suddenly get worse, or you're adding more and more passes without achieving breakthrough, and nothing in your file or power settings has changed, check your focus first. Here's what you might observe:
- Incomplete Cuts: The most obvious symptom. The laser traces the path, but the material doesn't cut through, or only partially cuts.
- Wider Kerf: An unfocused beam spreads its energy, creating a wider cut line (kerf) but with less penetration.
- Excessive Heat: The material heats up more because the energy is less concentrated, leading to discoloration, warping, or even re-welding of the cut.
- Increased Pass Counts: To compensate for the lack of penetration, operators instinctively increase the number of passes. This can hide the underlying focus issue and significantly slow down your production.
A related problem: The board's buffer
Another issue that can masquerade as a "weak laser" or "bad cut" is the limitation of the controller board's buffer. The PC sends job commands to the board, which then executes them. If you're sending very large jobs with many passes (e.g., cutting 1.0 mm silver requires 28-29 passes on our machine), the PC can sometimes send data faster than the board can process it. When the buffer fills, the board can silently drop commands.
We discovered this when a job with 147 seconds of theoretical marking time only fired the laser for about 25 seconds. The operator's natural reaction was to add more passes, which simply sent more commands into the void. Once we implemented flow control in our own software [HagoLaser] to ensure the board wasn't overwhelmed, our pass counts for complex jobs dropped dramatically because all the passes we sent finally arrived at the material.
If your big jobs cut worse than small ones, or the machine finishes marking long before the software says it's done, you might be hitting a buffer limit. This is separate from focus, but it's another common reason why a laser might appear to be underperforming.
The Workshop Takeaway: What to Do Today
Don't lose another piece of material to an easily fixable problem. Here's your checklist to get your laser cutting correctly:
- Back Up Your
PARAMFolder: Before you change anything, copy your entire EzCad3PARAMfolder to a safe place. This is your machine's brain, and you want a backup. - Find Your
m_dFocusPos: OpenMotors.iniand note down your machine's absolute factory focus height. (Ours is-59.6 mm). - Calculate Your Working Focus: For the material thickness you're using, add that thickness to your
m_dFocusPos. Remember: Z = focus + material thickness. - Set Z in EzCad3: Input this calculated working focus height into your EzCad3 Z-axis control and move the Z-axis to that position.
- Test on Scrap: Always, always test your new focus height on a piece of scrap material. Our proven recipes for sterling silver are a good starting point (e.g., 95% power, 190 mm/s, 60 kHz, with wobble enabled).
- For 0.8 mm silver, we use about 17 passes.
- For 0.9 mm silver, about 21 passes.
- For 1.0 mm silver, 28-29 passes.
These are our numbers, on our machine, with our material. Your machine will be different. Start with fewer passes and increase until you get a clean cut, then dial it back slightly if possible. Remember, pass count, not power, is usually the key lever for cutting through.
- Observe Frequency: For cutting, higher frequencies (like our 60 kHz) tend to work better, as they create smaller, more energetic pulses. We once tried dropping to 20 kHz for 0.3 mm silver and it performed significantly worse; back at 60 kHz it cut in a handful of passes. This is the opposite of deep engraving, where lower frequencies often excel.
By taking the time to correctly identify and set your laser's focus height, you'll see a dramatic improvement in your cutting efficiency and consistency, saving you time, frustration, and precious material.