Stray Straight Lines Across Your Engraving: It's the Jumps, Not the Fill
You’ve finished an engraving, but faint straight lines mar the surface. This common problem isn't your fill pattern; it's the laser jumping between marks. Learn how to fix it.
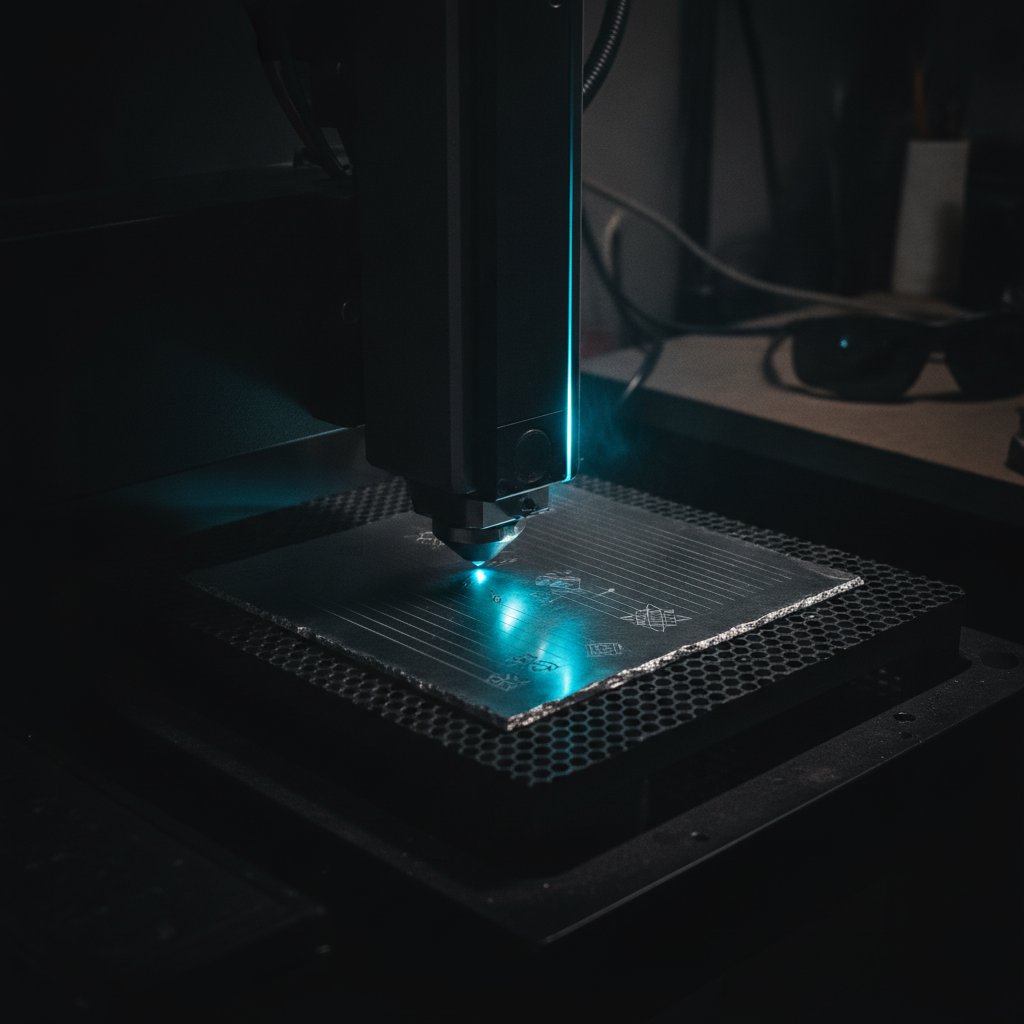
You’ve just pulled a beautifully engraved piece of sterling silver from your fiber laser, but wait – what are those faint, straight lines crisscrossing your design? If you’ve typed “laser engraving lines” or “fiber laser stray marks” into a search engine, you’re not alone. We’ve been there, losing silver to this exact problem for months, and the answer is usually counter-intuitive: those lines are almost certainly not from your fill pattern. They are the jumps – the travel moves the galvos make between marked segments with the beam supposedly off.
Before we dive into troubleshooting, a quick safety reminder: a fiber marking laser is a Class 4 device. Its 1064 nm beam is invisible and causes permanent eye damage instantly. Always wear laser safety glasses rated for 1064 nm with an appropriate OD for your source power. Metal is a mirror, so reflections can go anywhere in the room. Never leave a running job unattended, and ensure you have proper fume extraction, as metal marking produces fine particulate that is hazardous to your health.
The Jumps Are the Culprit, Not Your Fill Pattern
In detailed engravings, especially photo engravings, your laser can make tens of thousands of tiny separate marks, with an equal number of jumps between them. Each jump is a moment where the galvos move the laser spot from the end of one marked segment to the start of the next, with the laser beam supposedly switched off. If the beam isn't fully off, or if the jump is too slow, it drags a faint line.
For us, two key EzCad3 parameters were the culprits behind these unwanted marks:
- Laser Off TC (Time Constant): This setting dictates the delay after the last mark of a segment before the galvos start their jump. Its job is to ensure the laser beam has completely died down.
- Jump Speed: This is how fast the galvos travel between marked segments when the beam is off.
Laser Off TC: Letting the Beam Die
If your Laser Off TC is set too short, the machine starts moving the galvos for the jump while the laser beam is still partially active. This results in faint, unwanted lines being drawn across your work. Our own workshop initially had this setting far shorter than what was ideal.
The standard Laser Off TC value in EzCad3 that worked for us, and which we recommend checking first, is 100 µs. If yours is significantly lower, increasing it to 100 µs (or even slightly higher if the problem persists) will give the laser beam enough time to fully extinguish before the jump begins, eliminating those leakage lines.
Jump Speed: Faster is Cleaner
This is the most counter-intuitive fix, and it was the one that solved our most stubborn stray lines problem, particularly on detailed photographic engravings. We had originally lowered our Jump speed to as little as 60 mm/s, mistakenly believing that a slower jump would leak less energy and therefore leave fewer marks.
The opposite proved true: a slow jump speed gives the residual tail of the beam more time to drag a visible line across the work. Think of it like a slow-moving, leaky pen. When we set our Jump speed back to the EzCad3 default of 2000 mm/s, the stray marks virtually disappeared. The job also ran significantly faster, which was a welcome bonus. This single change fixed a silver portrait engraving that had previously been unusable due to unwanted lines.
The Hidden Connectors: When Your Fill Strategy Trips You Up
While Laser Off TC and Jump speed address leakage from supposed "beam off" movements, another common source of unwanted lines comes from your engraving's fill strategy. If you're using a "sweep" fill (where the laser marks row by row, like a printer), you might inadvertently be marking the connectors between rows.
Our workshop made this mistake for weeks. We were joining each row to the next in a serpentine pattern and marking the joining move. These "connectors" were the very "lines" we were trying to eliminate. The solution is simple: when sweeping, do NOT mark the connectors between rows. Implement a proper jump between each row, and these specific lines will disappear. A clean sweep fill uses jumps, not marked lines, to move from the end of one row to the start of the next.
Using a nearest-neighbour fill strategy can help minimise jump lengths, which can be beneficial if leakage per jump is a persistent issue, as it keeps any potential residue short and local. However, for the most even, professional-looking result, a sweep fill with proper jumps is generally preferred.
Why Sterling Silver Makes This Problem Worse
If you're primarily working with sterling silver, you're tackling one of the most challenging materials for a 1064 nm fiber laser. Silver is the most reflective of the common precious metals and an excellent heat conductor. This means it rejects much of the laser's energy and quickly dissipates the heat that does get absorbed.
This high reflectivity makes stray laser leakage more apparent. A faint mark that might be barely visible on a less reflective metal (like gold, which engraves much more easily) will stand out glaringly on silver. For very reflective silver, a common workaround is to paint the surface matt black, engrave through the coating, and then clean it off. The coating absorbs the laser energy, transferring heat to the silver, and often yields a cleaner result. Never judge your machine or your skill solely on silver; it's the hardest common material.
Beyond Stray Lines: Achieving a Clean Engraving
Once you’ve addressed the specific issue of stray lines, there are other considerations for truly clean and crisp engravings, especially for fine details or photographic work:
- Spot Compensation (Kerf Compensation for Engraving): Your laser spot has a physical width. Every marked line comes out slightly fatter than the zero-width line in your design. On detailed images, this fattening closes the small white gaps that form the detail, turning fine features into a blur. We found that shrinking the area to be marked by about half a spot diameter before marking helps preserve these details. We typically use a 0.05 mm compensation, adjusting it as needed. More compensation yields finer, cleaner results; too much, and the fill starts to break up. This is similar to kerf compensation in cutting.
- Contour Pass: EzCad3 often enables a contour pass by default, which adds an extra outline around filled areas. While this can make small text crisper, it can also thicken everything slightly and sometimes detract from the smoothness of photographic fills. For very clean, smooth fills, consider disabling the contour pass.
- Fill Ordering for Jumps: While not a fix for leakage, ordering your fill so jumps stay short and land on already-marked (dark) areas can reduce the visibility of any residual leakage by about 90%. This means any faint lines are drawn over existing engraving, rather than across clean metal.
To understand the function of each EzCad3 parameter in more detail, you might find our article Every EzCad3 Pen Parameter, Explained for Jewelers helpful.
Our Engraving Parameters for Sterling Silver (Example)
To give you a starting point, here are some of the parameters we use in our workshop for general silver engraving and for achieving the depth needed for enamel filling. Remember, these are specific to our 100 W MOPA fiber laser and 0.25 mm to 1 mm sterling silver sheet; you must test these on scrap material with your own machine.
| Parameter | General Engraving (Surface) | Deep Engraving (Enamel Ready) |
|---|---|---|
| Speed | 700 mm/s | 600 mm/s |
| Power | 95 % | 100 % |
| Frequency | 40 kHz | 30 kHz |
| Pulse Width | 200 ns | N/A (MOPA setting) |
| Passes (LOOP) | 5 | 10 |
| Jump Speed | 2000 mm/s | 2000 mm/s |
| Laser Off TC | 100 µs | 100 µs |
| Polygon TC | 100 µs | 100 µs |
| Min/Max Jump TC | 10/85 µs | 10/85 µs |
| Contour Pass | Enabled (for crisp text) | Enabled (for defined edges) |
Note the difference in frequency for deep engraving. We found that engraving depth per pass follows the energy per pulse, which is roughly average power divided by frequency. So, at a fixed power, a higher frequency means weaker individual pulses. For depth, dropping the frequency to 30 kHz was a significant lever for us, delivering fatter, more powerful pulses that dig deeper. More passes is also the most predictable way to gain depth. For more on achieving good depth for enamel, consider our detailed Color Workflow guide.
Practical Takeaways: What to Check First
If you're seeing stray lines on your fiber laser engravings, don't immediately blame the laser power or your fill pattern. Start with these checks:
- Verify your
Laser Off TC: Ensure it is set to at least 100 µs to give the laser beam enough time to fully extinguish before the galvos move. - Increase your
Jump speed: If it's set low, try increasing it to 2000 mm/s. A faster jump reduces the time for any residual beam to drag a line. - Review your fill strategy for marked connectors: If you're using a sweep fill, make sure you're not intentionally marking the lines that connect one row to the next. These should be jumps, not marked segments.
- Consider spot compensation: For overall detail and clarity, especially on fine artwork, implement a spot compensation (shrinking the marked area by about 0.05 mm) to prevent detail from closing up.
Always test any parameter changes on scrap material first. What works for our machine and materials in Málaga is a starting point, not a universal rule for yours.