The Color Workflow: Inkscape to Laser, Step by Step
Frustrated with complex laser settings for every design? Our workshop uses a simple color-based workflow from Inkscape to our fiber laser, making daily production fast and reliable. Here's how.
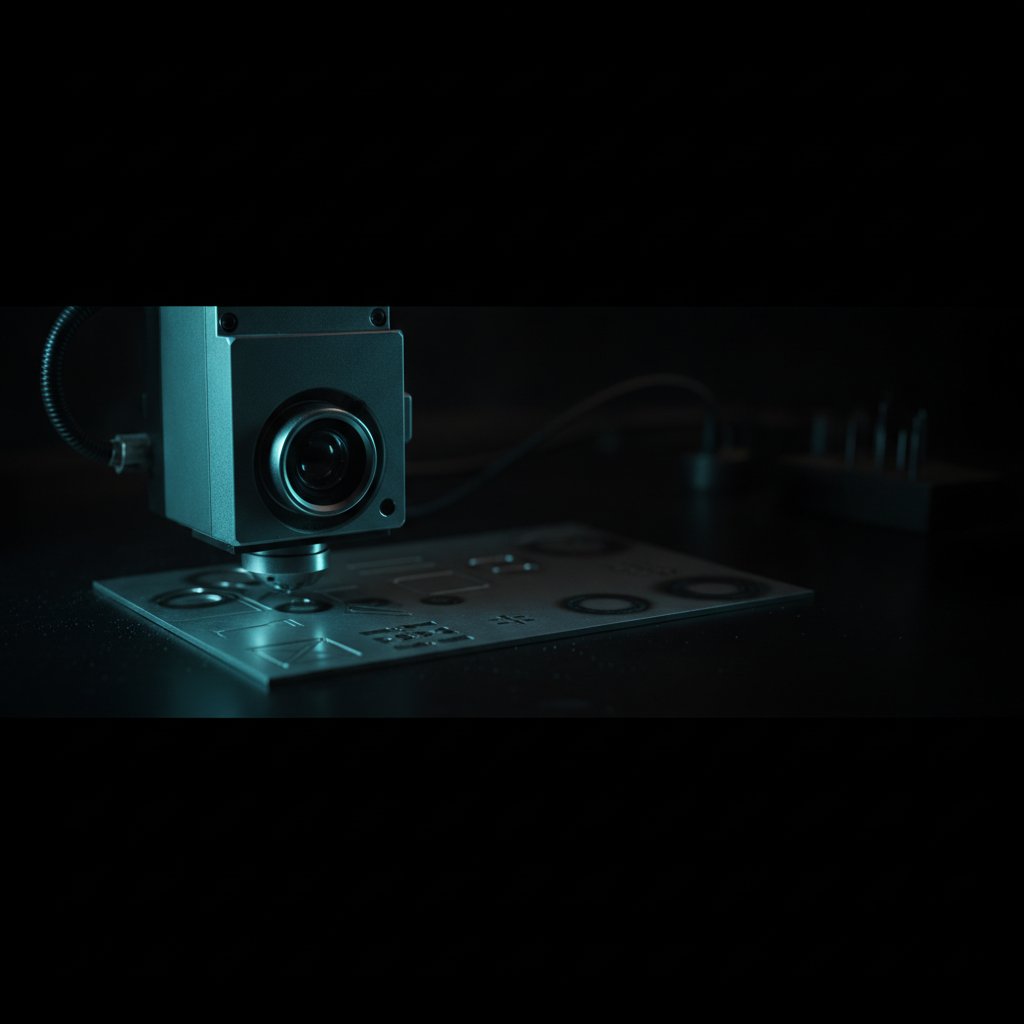
If you've spent any time with a galvo fiber laser and EzCad3, you know the power it offers, but also the daily grind of managing pen parameters. Every new design means navigating layers of settings, trying to remember which combination of power, speed, and frequency finally achieved that perfect inner cut on 0.8 mm silver, or the right depth for an engraved texture.
Our workshop in Málaga faced this problem every day. We needed a workflow where a drawing in Inkscape was already the job, where we picked a material, and the laser just knew what to do. This is the color workflow we developed, now available in HagoLaser, which allows us to move from an Inkscape SVG to a finished sterling silver piece with minimal fuss.
The Problem with Traditional Laser Workflows for Jewelry
Most galvo fiber lasers ship with a controller board from BJJCZ, typically running EzCad3 software for newer machines. EzCad3 is powerful; it drives the hardware well and offers granular control over every laser parameter. However, for a jewelry workshop that cuts and engraves many different designs daily, this control can become a bottleneck.
Each operation—an inner cut, an outer cut, an engraving—requires specific settings for power, speed, frequency, Q-pulse, and more. In EzCad3, these are defined in a "pen" or "layer." This means:
- Every new design requires assigning layers to pens.
- Changes to material thickness mean updating multiple pens.
- Sharing designs with others in the workshop means sharing not just the drawing, but also the specific EzCad3 parameter library.
- It's easy to make a mistake, using the wrong pen for the wrong line, leading to wasted silver.
We needed a system where the design itself carried the instructions, eliminating the need to re-configure pen settings for every job.
Our Color Workflow: Drawing the Job in Inkscape
The core idea of our color workflow is simple: use flat colors in your drawing software (we use Inkscape, which is free and excellent for vector work) to define what each line or fill is meant to do. When this SVG file is opened in HagoLaser, the software reads these colors and automatically applies the correct laser parameters based on your selected material.
Our Color Convention
After much trial and error, we settled on a simple, consistent convention:
- Black: Inner Cut. Use black lines for any internal shapes or holes that need to be cut out.
- Purple / Pink: Outer Cut. Use a bright purple or pink for the outermost contour of your piece. This helps visually distinguish it from inner cuts.
- Blue: Engrave. Use blue for any areas that need to be engraved, whether lines or filled shapes.
This convention ensures that your drawing is the job. There are no layers to configure, no complex dialogs to walk through. A new design is drawn, colored, and fired without touching individual machine settings. It also makes designs easily shareable; anyone in the workshop can open the same SVG, select the material, and get the exact same result.
Setting Up HagoLaser: Your Machine, Your Settings
HagoLaser is a Windows desktop program designed to communicate directly with JCZ DLC2 controller boards, the same boards that run EzCad3. It brings this color workflow to your machine.
The First-Run Wizard
When you first install HagoLaser, a wizard guides you through the initial setup. This is where HagoLaser bridges the gap between our color workflow and your specific machine's calibration. The wizard does not ship or redistribute any JCZ files; instead, it reads what is already on your machine:
- It finds your existing EzCad3 installation.
- It imports your EzCad3 parameter library (your "pens") as material recipes.
- It reads your machine's real focus height from your
Motors.inifile. - It imports your galvo correction file (
.cor).
This means HagoLaser starts with the settings you already know work on your machine. You simply associate your existing EzCad3 pens with the HagoLaser color operations (black for inner cut, purple for outer cut, blue for engrave) for different materials like "Silver 0.8 mm" or "Silver 0.5 mm." HagoLaser also installs an Inkscape color palette to ensure your drawing colors precisely match the operations.
A Note on USB Drivers
To talk directly to your DLC2 board, HagoLaser uses the generic WinUSB driver. This is the one detail every new user encounters. While WinUSB is installed, EzCad3 will not work; the two drivers are mutually exclusive. HagoLaser's installer bundles a standard tool to switch drivers. If you need to revert to EzCad3, you simply uninstall the device in Windows Device Manager (ticking "delete the driver software") and reconnect the USB cable. We believe in being transparent about this upfront, so you can decide if it fits your workshop's needs.
From Inkscape to a Finished Piece: The Workflow
Once HagoLaser is set up and you've defined your material recipes, the daily workflow is straightforward:
-
Design in Inkscape
Create your jewelry design in Inkscape. Draw all inner cuts in black, outer cuts in purple, and engraves in blue. SVG fills automatically become engraved fills in HagoLaser, so you don't need to manually hatch anything. Save your file as an SVG.
-
Open in HagoLaser
Launch HagoLaser and open your SVG file. The program will immediately interpret the colors and display the different operations.
-
Select Your Material
From the materials library, select the material you are using—for example, "Silver 0.8 mm." HagoLaser will instantly load all the correct power, speed, frequency, and pass count settings for each color operation (black, purple, blue) that you defined during the initial setup for that specific material. This is where the magic happens: the drawing is now linked to your proven machine settings.
For our machine, when we select a material like "Silver 0.8 mm", the following actions are triggered for each color:
Inkscape Color Intended Operation HagoLaser Action (Example for "Silver 0.8 mm") #000000(Black)Inner Cut Loads specific laser parameters for cutting 0.8 mm silver cleanly (multiple passes, appropriate power/speed/frequency). #8800ff(Purple)Outer Cut Loads specific laser parameters for cutting the outer contour of 0.8 mm silver, often optimized for minimal dross. #0000ff(Blue)Engrave Loads specific laser parameters for surface engraving on 0.8 mm silver (fewer passes, different power/frequency for texture). Remember, the specific values for these parameters are unique to your machine and material, and HagoLaser uses the ones you imported from your own EzCad3 settings during the first-run wizard. Always test any new material on scrap first.
-
Frame and Preview
Use the red-light framing feature to check the placement on your material. HagoLaser also offers a 3D relief preview, which is incredibly useful for visualizing engraved depths before you commit to the laser.
-
Run the Job
With a foot pedal or the software button, start the job. HagoLaser sends the instructions to your DLC2 board, and the laser begins its work.
Safety First: Operating a Class 4 Laser
Working with any fiber laser, especially a Class 4 system like ours, demands unwavering attention to safety. The 1064 nm beam is invisible and causes instant, permanent eye damage. Always wear laser safety glasses rated for 1064 nm with an appropriate Optical Density (OD) for your source power, and ensure anyone else in the room does too. Metal is highly reflective, so reflections can travel unexpectedly. Never leave a running job unattended. Metal marking produces fine particulate and metal fume; proper extraction with a suitable filter is essential health equipment, not an optional accessory. Physical interlocks and enclosures are your primary safety layer; software interlocks are a convenience that can be disabled. Work safely.
Troubleshooting and What Can Go Wrong
Even with a streamlined workflow, issues can arise. Understanding the common pitfalls can save you time and precious material:
- Incorrect Focus Height: This is perhaps the most common reason for failed cuts or weak engravings. If your laser is out of focus, the energy density at the material surface is too low. HagoLaser imports your focus height from
Motors.ini, but material thickness needs to be added to this base height. For a detailed explanation, we've written extensively on Fiber Laser Focus Height: Why Your Cuts Fail and How to Fix It. - Wrong Material Selected: If you select "Silver 0.5 mm" but are running 0.8 mm sheet, your cuts will likely not go through, or your engraves will be too shallow. Double-check your material selection against the physical material.
- Inkscape Color Mismatch: Ensure the colors in your SVG precisely match the HagoLaser palette and your defined operations. Even a slight color variation can lead HagoLaser to ignore a line.
- Power/Speed/Frequency Issues: While HagoLaser automates these, if your initial EzCad3 pens were not fully optimized, your results may suffer. It's crucial to have solid base settings. We've broken down Every EzCad3 Pen Parameter, Explained for Jewelers in a previous article.
Practical Takeaways for Your Workshop
Implementing a color workflow fundamentally changes how you approach laser jobs, making daily operations faster and less prone to error. Here's what we recommend you do first:
- Start Simple: Begin by drawing a very basic test piece in Inkscape with just a black inner circle, a purple outer square, and a blue engraved line. This helps you confirm your setup.
- Validate Your Material Settings: Use the HagoLaser first-run wizard to import your existing EzCad3 pens. Then, carefully associate these pens with the black, purple, and blue operations for your most common materials (e.g., "Silver 0.8 mm"). It’s worth revisiting and optimizing these base settings on scrap material to ensure they perform exactly as you need them to.
- Test on Scrap: Always, always test your new material recipes or complex designs on scrap material before committing to a valuable piece of sterling silver. This applies even if you've used the settings before; minor variables can always affect the outcome.
- Embrace the System: Once you're comfortable, commit to the color convention. The more you use it, the faster your design-to-production cycle will become, allowing you to focus on the jewelry itself rather than machine parameters.
We built HagoLaser because we needed this workflow ourselves, to make daily production more efficient and less stressful. It's free and currently in beta, offered as-is, reflecting our commitment to the workshop community. We believe it can help you, just as it helps us, transform your Inkscape drawings into finished jewelry pieces every day.