HagoLaser Install: The USB Driver Question, Answered Up Front
Switching from EzCad3 to HagoLaser involves a critical USB driver change. This guide explains exactly what happens, how to do it, and how to switch back if needed, so you can get marking today.
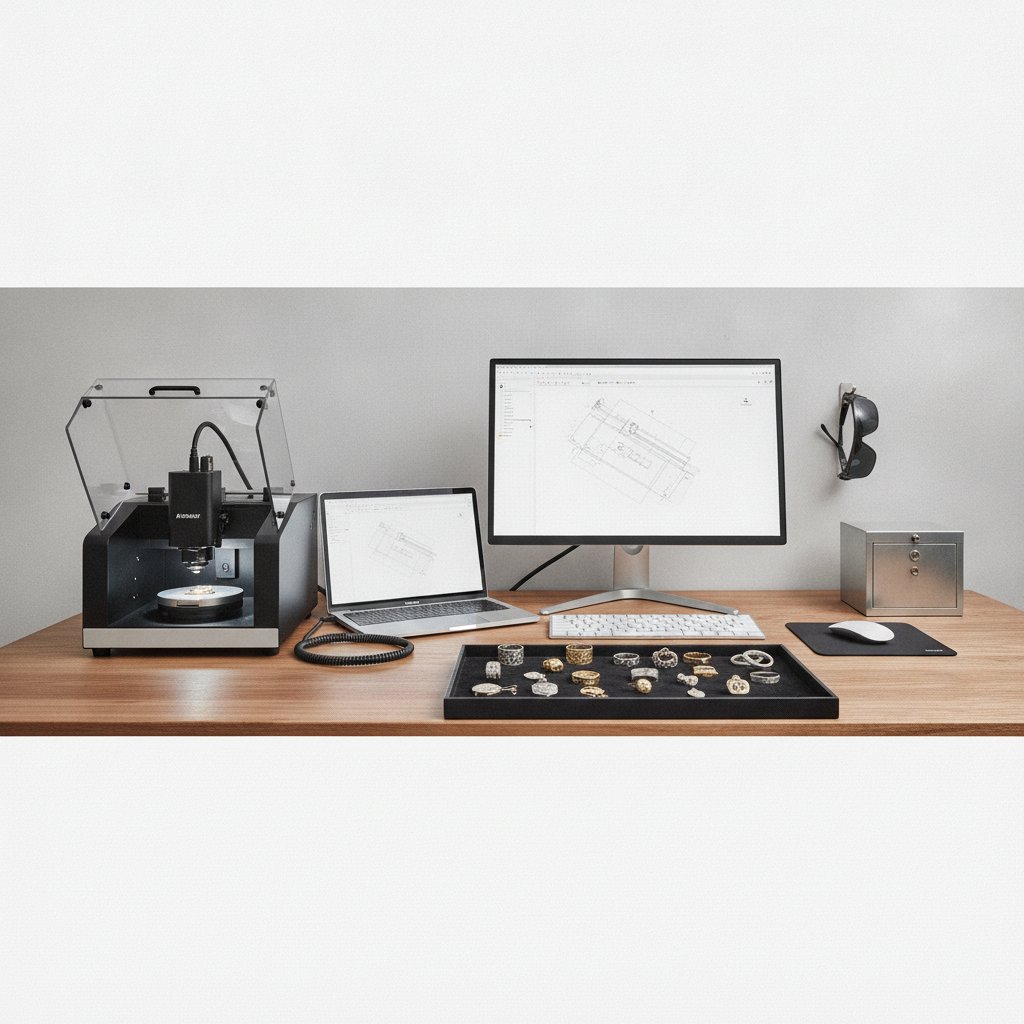
The Essential Driver Switch for HagoLaser
When you first install HagoLaser, the most common question we get is about the USB driver. Our software needs a specific driver, WinUSB, to talk directly to your JCZ DLC2 controller board. The critical thing to know upfront is this: while WinUSB is installed, EzCad3 will not work on that machine. The two drivers are mutually exclusive. We prefer to say this plainly before you even download anything, because it dictates how you plan your workflow.
For our workshop in Málaga, this was the biggest hurdle when we started developing HagoLaser. We needed a workflow that didn't involve navigating complex EzCad3 settings for every single job, but figuring out the driver situation took time and cost us silver in lost production. This article explains exactly what you need to do, what to expect, and how to switch back to EzCad3 if you need to.
A fiber marking laser is a Class 4 device. The beam and its reflections cause permanent eye damage instantly and silently. The 1064 nm wavelength is invisible, so you never see the beam that blinds you. Laser safety glasses rated for 1064 nm (with an OD suitable for your source power) must be worn by everyone in the room, always. Metal is a mirror; reflections go everywhere. Never leave a running job unattended. Metal marking produces metal fume and fine particulate; extraction with a proper filter is health equipment, not an accessory. Physical interlocks and enclosures are the real safety layer. Software interlocks are a convenience, and they can be switched off – ours can. Never treat software as your protection.
Understanding Your Laser's USB Connection
Most affordable galvo fiber lasers ship with a controller board from BJJCZ (often called "JCZ"). These boards, like the DLC2 generation, are driven by their own software: EzCad3. The board is the actual brain of your laser; your PC sends a list of marking commands over USB, and the board handles the real-time control of the galvos and laser source.
EzCad3 uses a proprietary driver to communicate with the JCZ board. This driver is designed specifically for EzCad3 and is not redistributable, nor can it be used by other applications for direct access. HagoLaser, being a third-party application, needs a generic driver that allows it to send commands directly to the board. That driver is called WinUSB, and it's a standard Windows component.
The Mutual Exclusivity Problem
This is the core of the issue: Windows can only load one driver for a given USB device at a time. So if the WinUSB driver is active for your laser controller board, EzCad3 will not recognize the board; and while EzCad3 holds the board, HagoLaser cannot connect. This applies to EzCad3 specifically, not to every other program: LightBurn uses the same WinUSB driver we do, so if your machine is already set up for LightBurn there is no switch to make at all.
HagoLaser is not affiliated with, endorsed by, or connected to Beijing JCZ Technology Co., Ltd. (BJJCZ), the makers of EzCad, nor with any laser manufacturer. We do not claim EzCad3 is bad software; it drives the hardware well and it is what the machine ships with. Our complaint is about the daily workflow for jewelry, not the underlying engine.
Step-by-Step: Installing HagoLaser
This is the part people expect to be painful, and it is not any more. Since version 3.63 the installer attaches the driver for you: there is no separate utility to run, no list of devices to decipher and nothing to choose. The whole install is four steps.
- Download HagoLaser: visit hagolaser.com. There is a quick email verification, and then the installer.
- Run the installer and leave the driver box ticked. One of the options is "Install the USB driver". Leave it on and accept the Windows permission prompt when it appears — that prompt is Windows asking permission to change a driver, and it is the only click that matters.
- Connect the laser and switch it on. The board has to be powered for the driver to bind to it.
- Open HagoLaser. That is the end of the list: it already sees the board.
Already running LightBurn? Then there is nothing to do at all. LightBurn puts the very same WinUSB driver on the board, so HagoLaser talks to it straight away and both programs keep working. Only EzCad3 is the exclusive one.
If HagoLaser cannot see the board — you installed without ticking the box, or a Windows update put the factory driver back — press Connect. A notice appears with a button, "Install the driver now". One click, accept the Windows prompt, and the program connects on its own. You should never need to touch Device Manager or hunt for device names.
The software is free, with a one year licence that you renew from inside the program. It is currently in beta and offered as is: this is real industrial machinery and the user carries the risk.
The First-Run Wizard: Getting You Marking Faster
Once connected, HagoLaser's first-run wizard takes over. This is the part that makes it usable on day one: it finds your EzCad3 installation and imports your machine's critical calibration data. It does not ship or redistribute any JCZ file; it simply reads what is already on your machine. This includes:
- Your specific focus height from
Motors.ini. - Your existing parameter/pen library from
MarkParamlib.inias material recipes. - Your galvo correction file (the
.corfile).
This means you start with your machine's proven settings, not generic defaults. For more details on this process, you can read our article: Your EzCad3 Settings, Imported: First Run Focus and Pens in HagoLaser.
Switching Back to EzCad3 (If You Need To)
This is a button, not a procedure. In HagoLaser open USB Driver and press "Give the laser back to EzCad3". Then switch the machine off and on before you open EzCad3. The same button brings the board back to HagoLaser afterwards, and you can flip it as often as you like.
Do not try to do this from Device Manager. The advice you will find in older forum threads — uninstall the device and tick "delete the driver software" — no longer works. Our driver package stays in the Windows driver store, so Windows quietly puts it back on the next reconnect and you end up convinced you have broken something. You have not. Use the button.
On a machine dedicated to HagoLaser this never comes up at all. On a shared PC it is a ten second flip in either direction.
Our Daily Workflow: Color, SVG, and Speed
Once HagoLaser is installed and running, our workshop's daily workflow is designed for speed and consistency. We draw our pieces in Inkscape as SVG files, using specific flat colors to define operations. The software reads these colors directly from the SVG, eliminating manual layer configuration.
The core colors we use are:
| Color (Hex Code) | Operation | Notes |
|---|---|---|
#000000 (Black) |
Inner Cut | Cuts interior details first, while the piece is still held by the sheet. |
#0000ff (Blue) |
Engrave | Surface or depth engraving. SVG fills become engraved fills automatically. |
#8800ff (Purple) |
Outer Cut | Cuts the final outline, freeing the piece from the sheet, always last. |
These are defaults, not a rigid rule. Any color can be assigned to any operation in the Colors library. However, using our provided Inkscape palette simplifies things: the swatches are labeled with their function (inner cut, engrave, outer cut).
Designing in Inkscape for HagoLaser
The most common first-run confusion for new users is getting the Inkscape colors wrong. Always use the HagoLaser palette. At the right-hand end of the color strip along the bottom of Inkscape, a small arrow button opens the list of palettes. Select "HagoLaser" there.
We keep one working file, often called 1.svg, loaded in HagoLaser. We design the next job in Inkscape, save the SVG, and then press "Mark" in HagoLaser. The software re-reads the SVG from disk every time it marks, so what you last saved in Inkscape is what goes onto the metal. If you press "Mark" and get the previous design, you simply forgot to save in Inkscape – that's the entire failure mode.
Design in real millimeters. A 20 mm wide drawing will be marked 20 mm wide. The document is your workpiece, not a canvas to scale later. For more on our materials approach, see: One Click from 'Silver 0.8 mm' to a Finished Piece: The Materials Library.
Practical Takeaways for Your Workshop
Installing is no longer the hard part. What is worth doing before you start is the small amount of housekeeping that protects your machine:
- Know the one real limitation: EzCad3 and HagoLaser cannot hold the board at the same time. That is the whole of it — and swapping back is one button inside the program, not an afternoon in Device Manager. LightBurn users are not affected at all, since it uses the same driver we do.
- Back Up Your EzCad3
PARAMFolder: Before you make any changes, locate your EzCad3 installation and back up its entirePARAMfolder. This contains your machine'sMotors.ini,MarkParamlib.ini, and.corfiles – your machine's calibration. HagoLaser reads these, but having your own backup is non-negotiable. - Test on Scrap Material: Always verify settings on scrap material after any software installation or driver change. Even with the imported settings, slight variations can occur, and every machine is unique.
- Embrace the Color Workflow: Once HagoLaser is running, get used to the Inkscape color palette. It’s a fast way to work, allowing you to define complex jobs visually without touching machine settings.
- Check Your Lens and Field Size: Our machine uses a 110 x 110 mm field, which is excellent for jewelry due to its concentrated power. Make sure you know what field size your machine has, as it directly impacts your laser's effective power and marking quality.
The goal of HagoLaser is to simplify the daily grind of laser jewelry manufacturing. Tackling the driver question upfront is the first step towards a smoother, more intuitive workflow in your workshop.