One Click from 'Silver 0.8 mm' to a Finished Piece: The Materials Library
If you work with sterling silver on a fiber laser, you know the frustration of inconsistent cuts and lost material. Our workshop built HagoLaser to solve that, and the materials library is at its core. This guide shows you how to use it today.
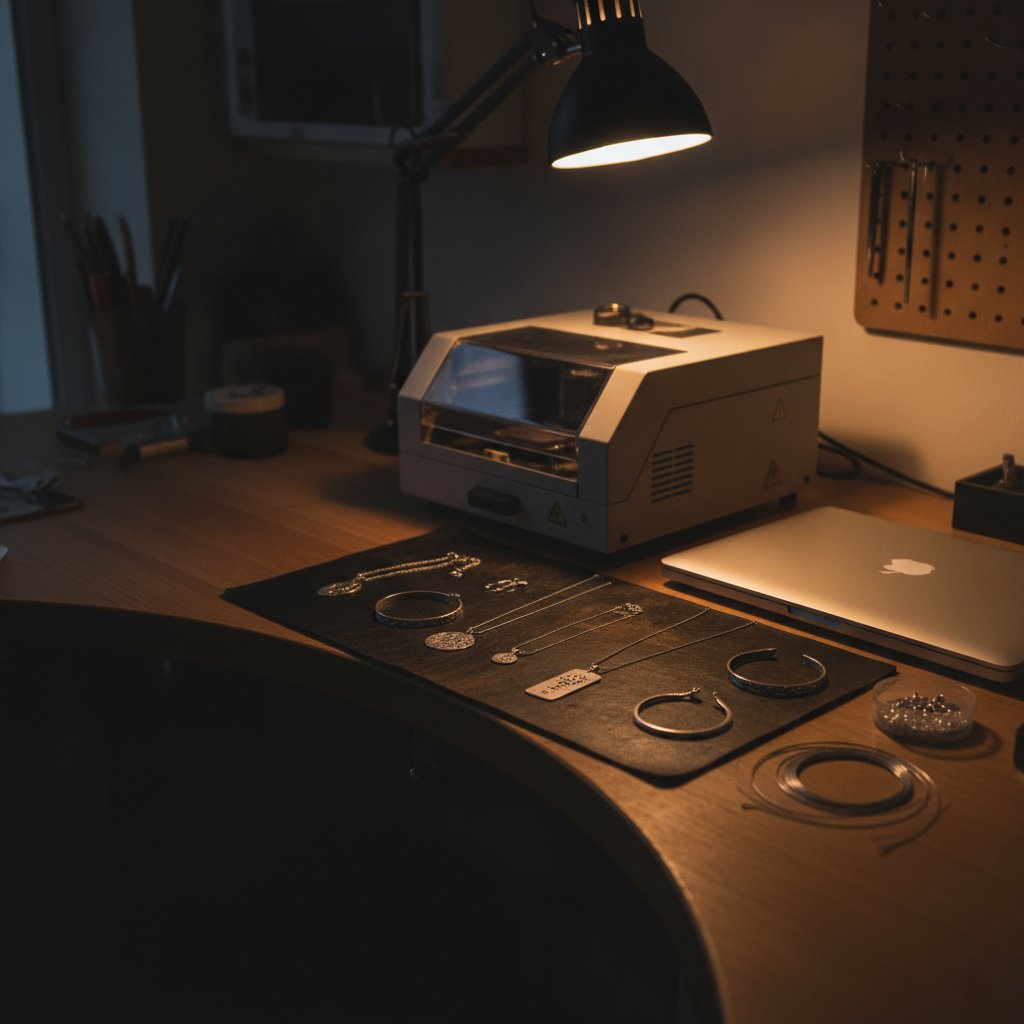
In our jewelry workshop in Málaga, Spain, we cut and engrave sterling silver on a galvo fiber laser every single working day. We’ve lost a lot of silver to incorrect settings, tiny slips of the finger, or forgotten details in the parameter libraries. This article is the guide we wish we had found two years ago, when the solution was still just a wish: a materials library that lets you select “Silver 0.8 mm” and know every setting is dialed in for a finished piece.
The Problem with Manual Settings
Most affordable galvo fiber lasers ship with a controller board from BJJCZ, driven by their EzCad2 or EzCad3 software. EzCad3 is excellent at driving the hardware, but its workflow for jewelry can be slow and prone to error. Each operation—cutting an inner detail, engraving text, cutting the outer shape—requires a specific combination of power, speed, frequency, pulse width, pass count, wobble settings, and timing parameters (TCs). Missing one detail, or applying the wrong "pen" to a line, means a ruined piece.
For us, the biggest frustration was the sheer number of variables. Sterling silver is notoriously difficult for a fiber laser: highly reflective, excellent heat conductor. It demands precision. If you're cutting 0.8 mm silver, then 0.5 mm, then engraving a texture, you're constantly adjusting settings. The cost of getting it wrong isn't just time; it's expensive sterling silver.
This is why we wrote HagoLaser. It's free, currently in beta, and it's what we use daily. Its core idea is simple: a materials library where you pick your material and thickness, and the software handles every setting for every operation in your design.
Setting Up Your Materials Library with HagoLaser
The goal is to go from a drawing to a finished piece of jewelry with minimal fuss. HagoLaser achieves this by integrating your machine's existing setup with a smart, color-based workflow.
Your First Run: Importing Existing Settings
When you first install HagoLaser, a first-run wizard automatically guides you through importing your machine's critical configurations. It finds your EzCad3 installation and reads:
- Your existing EzCad3 pens: These are imported as material recipes. So, if you already have a working "Silver Engrave" pen in EzCad3, HagoLaser will pull those parameters.
- Your real focus height: Taken directly from your
Motors.inifile. - Your galvo correction file: The
.corfile that defines your laser's accuracy.
We never ship or redistribute any JCZ files; HagoLaser simply reads what is already installed on your machine. This means you start with settings you know work.
The wizard also installs a custom HagoLaser color palette into Inkscape's user folder. This is crucial for the color workflow we use.
A Note on the USB Driver
To talk directly to your JCZ DLC2 board, HagoLaser needs the generic WinUSB driver. Our installer bundles the standard tool to switch it. However, while WinUSB is installed, EzCad3 will not work. The two drivers are mutually exclusive. To go back to EzCad3, you uninstall the device in Windows Device Manager (remembering to tick "delete the driver software") and reconnect the USB cable. We state this plainly because it’s the one thing every new user encounters.
Your Workflow: From Inkscape to Metal
Our daily workflow revolves around Inkscape, a free vector graphics editor, and HagoLaser. The drawing itself becomes the job, removing many steps that lead to errors.
Drawing Your Design in Inkscape
We draw every piece in Inkscape as an SVG. The key is using specific flat colors to tell the laser what to do. To make this easy, the HagoLaser palette, once selected in Inkscape, provides swatches labeled with their function:
- Black
#000000: Inner Cut (for holes, letters, internal details) - Blue
#0000ff: Engrave (for surface marking or deep relief) - Purple
#8800ff: Outer Cut (for the final outline that frees the piece)
Order matters on a real piece: inner details are cut while the piece is still held by the surrounding sheet. The outline that frees the piece is cut last. Getting that backwards means your part moves halfway through the job.
What you draw at 20 mm wide in Inkscape is marked 20 mm wide; the document is the workpiece, not a canvas to scale later. SVG fills automatically become engraved fills, so you don't have to re-hatch anything by hand. Another useful trick: draw a circle in an unused color, and HagoLaser will project it with the red aiming light without marking it. Perfect for aligning a medal in a jig.
Selecting Your Material and Marking
This is where the materials library shines. Once your design is ready and saved in Inkscape, the process in HagoLaser is:
- Select your material and thickness from the dropdown menu, for example, "Silver 0.8 mm".
- HagoLaser instantly loads all the appropriate power, speed, frequency, passes, wobble, and timing parameters for each of your assigned colors.
- Press Mark.
We keep one working SVG file—ours is literally called 1.svg—loaded in HagoLaser. We draw the next job in that same file in Inkscape, save it, and press Mark. HagoLaser re-reads the SVG from disk every time it marks. If you press Mark and get the previous design, you simply didn't save in Inkscape. That's the entire failure mode.
Crafting Your Own Recipes: Beyond the Defaults
While HagoLaser imports your existing pens, you'll want to refine and create new recipes. Here are some of our measured numbers and insights.
Our Silver Cutting Recipe: A Starting Point
For cutting sterling silver, our machine (a 100W MOPA source with a 110 x 110 mm field) uses a common recipe: 95 % power, 190 mm/s, 60 kHz, with wobble enabled. Remember, these are our numbers; always prove them on scrap.
Pass count, not power, is the main lever for cutting through. Turning up the power on a job that won't cut usually just widens the kerf and heats the piece. High frequency wins for cutting through; low frequency wins for surface ablation depth. You can read more about this in our article How Many Passes to Cut Silver? Our Measured Curve.
Our workshop's measured pass counts for silver:
| Sheet Thickness | Silver Passes (Our Machine) |
|---|---|
| 0.8 mm | 17 passes |
| 0.9 mm | 21 passes |
| 1.0 mm | 28-29 passes |
Wobble is critical for cutting. The beam oscillates sideways (ours at 0.15 mm diameter, 0.05 mm end diameter, 0.07 mm distance) to create a wider kerf, allowing molten metal to escape instead of re-welding. If a recipe that used to cut suddenly only engraves a line, check the wobble diameter before you touch anything else. We once had it set to 0.015 mm instead of 0.15 mm – a factor of ten – and nothing would cut through.
Our Silver Engraving Recipe: For Depth and Detail
For engraving silver, especially for enamel filling, we prioritize depth. Our confirmed recipe: 100 % power · 600 mm/s · 30 kHz · 10 passes. This uses a pulse width of 200 ns (on our MOPA source).
This recipe highlights a counter-intuitive fact: engraving depth per pass follows the energy per pulse, roughly average power divided by frequency. Lowering the frequency (which increases individual pulse energy) often digs deeper than simply raising the power. This is why our 100W source initially engraved shallower than a 30W machine we compared it to. You can find more detail in Engraving Depth: Why Your 100W Fiber Laser Can Engrave Shallower Than a 30W.
Gold, Brass, and Other Metals
Gold is noticeably easier to work with than silver because it's less reflective at 1064 nm and a poorer heat conductor. This means fewer passes for cutting or engraving. Our derived gold cutting table, based on scaling our silver numbers, uses the same core recipe (95% power, 190 mm/s, 60 kHz, wobble on), but with fewer passes. Remember, these are starting points and must be proved on scrap. Karat and alloy significantly change behavior.
| Sheet thickness | Gold Passes (Starting Point - Derived) |
|---|---|
| 0.25 - 0.4 mm | 2 |
| 0.5 mm | 3 |
| 0.6 mm | 4 |
| 0.7 mm | 6 |
| 0.8 mm | 9 |
| 0.9 mm | 11 |
| 1.0 mm | 14 |
Brass takes marks readily and darkens, needing its own recipes. For stainless steel, a MOPA source truly earns its money by enabling color marking with short pulses, though this requires patient test grids as it's very sensitive to every parameter. For very reflective silver, a crude but real trick is to paint it matt black, mark through the coating, and clean it off afterwards.
Calibrating New Materials: The Boring, Effective Way
When you introduce a new material, alloy, or thickness:
- Never calibrate on a real piece. Always use scrap of the same alloy and thickness.
- Change ONE variable at a time. A grid of speed against power, with settings engraved next to each square, tells you more in ten minutes than an afternoon of guessing.
- For cutting, find the pass count that just barely goes through, then add a small margin. Too many passes widen the kerf, heat and distort the piece.
- Write down the winning recipe immediately: material, thickness, power, speed, frequency, passes, wobble settings, pulse width, and focus height. A recipe missing any of these is not reproducible.
- Recalibrate when anything changes: new material supplier, different alloy, a new jig height, cleaned optics.
Safety First: A Constant Reminder
A fiber marking laser is a Class 4 device. The 1064 nm beam and its reflections are invisible and cause permanent eye damage instantly. Laser safety glasses rated for 1064 nm (with an OD suitable for your source power) must be worn by everyone in the room, always. Never leave a running job unattended. Metal marking produces metal fume and fine particulate—extraction with a proper filter is health equipment, not an accessory. Physical interlocks and enclosures are your real safety layer; software interlocks are a convenience.
Practical Takeaways for Your Workshop Today
If you’re looking to streamline your jewelry laser workflow, here’s what we recommend:
- Download HagoLaser from hagolaser.com and run the first-time wizard to import your existing EzCad3 settings. It's free and in beta.
- Install the HagoLaser palette in Inkscape and use the labeled swatches for your inner cut, engrave, and outer cut operations.
- Start with our measured silver cutting and engraving recipes as a baseline, but always prove them on scrap of your specific silver alloy.
- Pay close attention to your wobble settings for cutting. If a cut isn't going through, check the wobble diameter first.
- Remember that the laser leaves a black, oxidized edge on silver. Polishing is a normal, necessary step after marking to restore shine. Any design has to survive polishing.
Adopting a materials library approach saves time, reduces errors, and most importantly, saves expensive material. It's the workflow that allows our workshop to produce consistent, high-quality jewelry every day.