How Many Passes to Cut Silver? Our Measured Curve
Lost silver to bad cuts? We ran into the same problems. Here's the curve we measured for cutting sterling silver on our galvo fiber laser, along with the critical settings we wish we had known when we started.
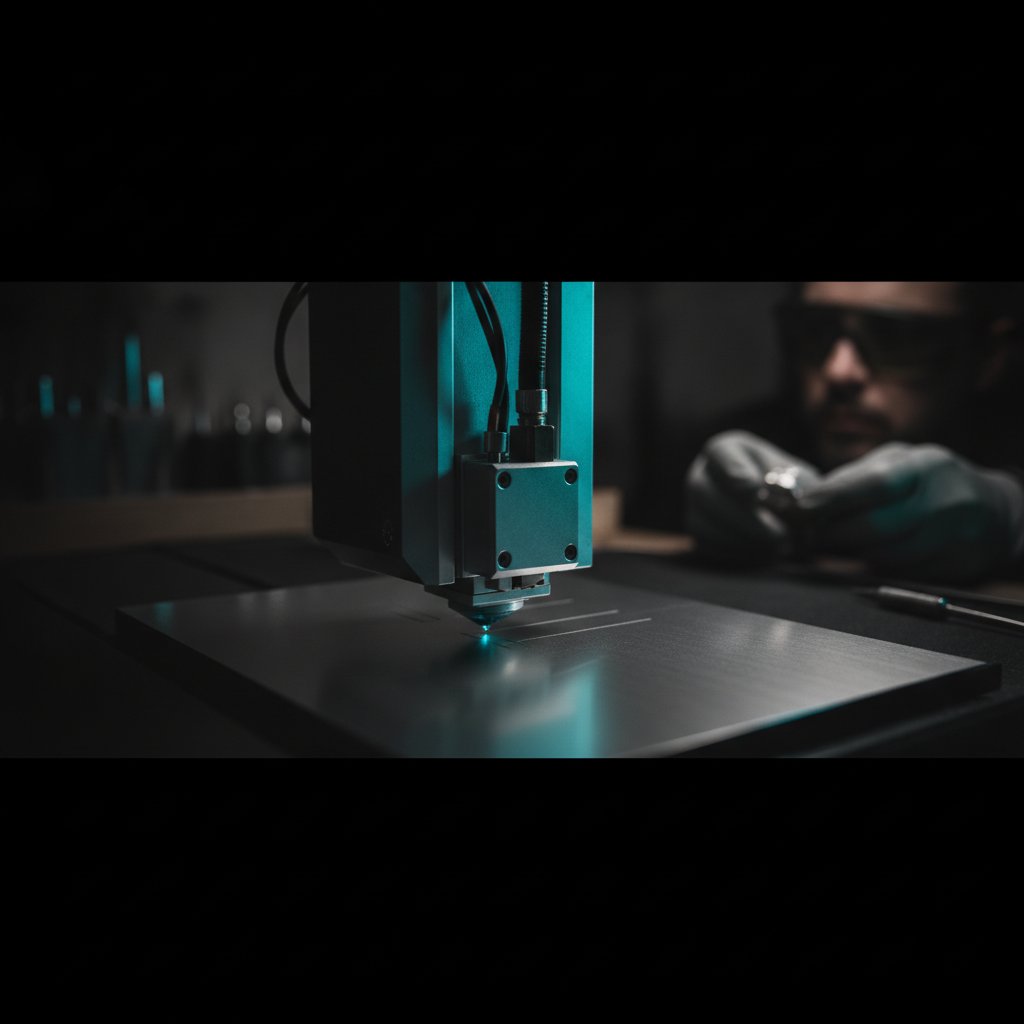
If you are trying to cut sterling silver sheet on a galvo fiber laser, the short answer is: a lot of passes. On our 100 W MOPA machine, using our standard settings of 95 % power, 190 mm/s, and 60 kHz with wobble, we use 17 passes for 0.8 mm silver, 21 for 0.9 mm, and 28-29 for 1.0 mm. These numbers come from our own shop, and getting them right was the single biggest fix we made to our cutting workflow.
For months, we were losing silver to incomplete cuts and distorted pieces. We tried everything: cranking up the power, slowing down, changing pulse widths. Nothing worked reliably. The problem wasn't our laser or our silver, it was a few critical settings that nobody had written down properly for jewelry production. This is the article we wish we had found two years ago.
Why Sterling Silver Is So Hard to Cut
Before we dive into numbers, it is important to understand why silver is such a challenge. A fiber laser works by being absorbed into the metal, heating it up, and ablating it. The more the metal reflects, the less power actually gets to work.
- Silver is the most reflective metal there is, especially at the 1064 nm wavelength of a fiber laser. A huge percentage of your laser's power simply bounces off.
- It is also an excellent heat conductor. Any heat that does get absorbed is quickly dissipated throughout the material, making it harder to reach the melting and vaporization temperatures needed for cutting.
This combination means silver fights you every step of the way. If you have only ever cut silver, you might think your machine is weak. Cut gold, and you will see the difference instantly. Never judge a machine or a recipe on silver alone; it is the hardest common case.
The only workaround for extremely reflective silver is to paint it matt black, letting the coating absorb the beam and transfer heat to the metal. It is not elegant, but it works.
The Hidden Power of Focus Height
This is the number that ruined more of our cuts than any other, for months. We verified it the hard way: a mere 2 mm of defocus can kill a cut completely. If your cuts suddenly got worse, check your focus before you touch anything else. A bent jig, thicker material, or a platform that shifted can all show up as "the laser got weaker."
On our machine, the factory-calibrated focus (the height where the beam is at its tightest point) lives in EzCad3's Motors.ini as m_dFocusPos. For us, that value is -59.6 mm, meaning the platform surface is in focus when the head is at that Z position.
When you cut sheet material, the top surface of that material is what needs to be in focus. So, the rule is simple:
Z position = machine focus + material thickness
For example, to cut 1 mm sterling silver sheet on our machine, the Z position should be -59.6 mm + 1.0 mm = -58.6 mm. If we were cutting 0.5 mm silver, the Z position would be -59.1 mm.
We discovered this the hard way. For a long time, our internal software was using a Z reference about 2.1 mm too high. Every cut ran out of focus, requiring far more passes than necessary. Fixing that reference instantly reduced our required pass counts, proving that the problem wasn't power or protocol, but simply geometry.
Our Measured Curve for Cutting Sterling Silver
After calibrating our focus and running countless tests on scrap, we finally arrived at a reliable set of parameters for cutting sterling silver on our 100 W MOPA galvo fiber laser. These are the settings we use daily for production:
Common Recipe for Cutting Sterling Silver:
- Power: 95 %
- Speed: 190 mm/s
- Frequency: 60 kHz
- Wobble: Enabled (more on this below)
With these settings, the critical variable for getting through the material is the number of passes. Here are the pass counts we actually use:
| Silver Thickness (mm) | Passes (Our Machine) |
|---|---|
| 0.25 | 2 |
| 0.3 | 2 |
| 0.5 | 5-6 |
| 0.8 | 17 |
| 0.9 | 21 |
| 1.0 | 28-29 |
Fitting those three measured points (0.8 mm, 0.9 mm, 1.0 mm) gives us a curve of roughly passes ≈ 27.5 × thickness^2.23 (where thickness is in mm). This formula predicts the thinner recipes well, but remember: every derived recipe must be proven on scrap before it goes near a real piece.
We cannot stress this enough: these numbers are from our specific machine, our source, and our silver stock. Treat them as a starting point, not universal gospel. Always calibrate on scrap material of the same thickness and alloy you plan to use.
Pass Count, Not Power
When a cut isn't going through, the natural inclination is to increase the power. However, for cutting, pass count is the primary lever. Turning up the power on a job that won't cut usually just widens the kerf and heats the piece excessively, leading to distortion rather than a clean cut. The energy from repeated passes eventually breaks through the material without overheating it all at once.
Frequency for Cutting vs. Engraving
This is another counter-intuitive point. For cutting, high frequency wins. We tried dropping the frequency to 20 kHz (which delivers fatter pulses and works well for deep engraving) on 0.3 mm silver, and it cut worse—16 passes still didn't go through. Back at 60 kHz, it cut in a handful. For deep engraving, lower frequency means fatter pulses that dig deeper. For cutting through, you want a rapid succession of weaker pulses to constantly ablate and clear the kerf.
The Hidden Trap: Wobble Settings
Cutting metal with a fiber laser relies on a setting called "wobble." This means the beam oscillates sideways as it follows the cut line. The purpose of wobble is to make the kerf (the width of the cut) wider than the beam itself. A wider kerf is crucial because it allows the molten metal to escape instead of re-welding behind the beam, which would prevent a through-cut.
Our working silver cutting recipe uses a wobble diameter of 0.15 mm, with an end diameter of 0.05 mm and a distance of 0.07 mm. These specific values might vary slightly for your machine, but the principle holds true.
We once had the wobble diameter set to 0.015 mm instead of 0.15 mm—a factor of ten, one decimal place off. A 15 micron wobble is effectively a thin line. The machine marked perfectly, but it would never open the cut. Everything else in the recipe was correct: power, speed, and passes. The machine simply would not go through.
So, if a recipe that used to cut suddenly only engraves a line, check the wobble diameter before you touch anything else. It is the single most misleading failure on a fiber laser, because the job looks like it is running exactly as it should.
What About Gold? (A Starting Point)
Gold is significantly less reflective than silver at 1064 nm, and it also conducts heat less effectively. This means the laser works much more efficiently on gold. You will find that it cuts and engraves more easily than silver with the same machine and operator.
Our cutting recipe for gold uses the same power, speed, and frequency as silver: 95 % power, 190 mm/s, 60 kHz, with wobble enabled. The only difference is the number of passes. Gold typically requires roughly half the passes we use for silver of the same thickness. These are derived numbers, not measured in gold, and should be treated as a starting point to be proven on scrap material.
| Sheet Thickness (mm) | Gold Passes (Starting Point) |
|---|---|
| 0.25 - 0.4 | 2 |
| 0.5 | 3 |
| 0.6 | 4 |
| 0.7 | 6 |
| 0.8 | 9 |
| 0.9 | 11 |
| 1.0 | 14 |
Always start with a low pass count and work your way up. A cut that doesn't go through just needs one more pass. A cut with too many passes can widen the kerf, overheat the piece, and distort thin sections. Gold is expensive to learn on, so take your time.
Remember that karat and alloy change everything. 18k yellow is not 14k, and white gold behaves differently due to its alloying metals. This table assumes a typical yellow gold.
Big Jobs and the Board's Buffer
Here is a failure mode that looks exactly like "my laser is weak," but has nothing to do with your laser source. Most affordable galvo fiber lasers ship with a BJJCZ controller board (often called "JCZ"), driven by EzCad3. The PC sends the job to the board as a stream of lists, and the board buffers them. This buffer is finite.
On a big cut with many passes over a lot of geometry, it is possible for the PC to send data faster than the board can mark. Once the buffer is full, subsequent lists can be silently dropped. You might pay for 39 passes, but the metal only receives 25.
We caught this when a cut with 147 seconds of theoretical marking time only fired for about 25 seconds. The operator's reaction is always the same—raise the pass count—which hides the bug and wastes time and consumables. The fix is proper flow control: never send more than a few seconds of marking ahead of what has actually been played. After we implemented this, our pass counts dropped dramatically, because the passes we were sending finally all arrived.
Symptoms of this problem include: big jobs cutting worse per pass than small ones, the machine going quiet long before the software says the job is done, and adding passes helping less than it should.
Calibrating New Material: Our Workshop Method
When you get a new batch of silver, a different alloy, or a new jig, you need to recalibrate. This method is boring, but it works:
- Always use scrap. Never calibrate on a real piece.
- Change one variable at a time. For cutting, start with the recommended power/speed/frequency and find the minimum pass count that just barely cuts through.
- Add a small margin. Once you find the bare minimum, add one or two extra passes for reliability. Going far beyond that just widens the kerf and heats the piece.
- Write it down immediately. Document the material, thickness, power, speed, frequency, passes, and critically, the focus height. A recipe missing any of these is not reproducible.
Remember, "it worked last month" is not a setting. Calibrate when anything changes.
Safety First (Always)
A fiber marking laser is a Class 4 device. The 1064 nm beam is invisible and causes permanent eye damage instantly and silently. Laser safety glasses rated for 1064 nm (with an OD suitable for your source power) must be worn by everyone in the room, always. Metal is a mirror, and reflections go everywhere. Never leave a running job unattended. Metal marking produces metal fume and fine particulate, so extraction with a proper filter is health equipment, not an accessory.
Practical Takeaways: What We'd Tell Someone Starting Today
If we could go back two years and give ourselves one piece of advice about cutting sterling silver on a galvo fiber laser, it would be this:
- Set your focus height precisely. It is Z =
m_dFocusPos+ material thickness. An error of 2 mm can completely prevent a cut. This is the most crucial setting. - Wobble is not optional for cutting. If your laser isn't cutting, but just engraving a line, check your wobble diameter. Make sure it is wide enough (e.g., 0.15 mm). A tiny error here makes a cut impossible.
- Use high frequency for cutting. Around 60 kHz works for us. Low frequency makes fatter pulses that are great for deep engraving, but they do not cut through silver effectively.
- Use passes as your primary lever. Don't just crank up the power when a cut isn't going through. More passes are a more controlled way to get depth without overheating and distorting the piece.
- Expect silver to be difficult. It is the hardest common precious metal to cut. Don't judge your machine or your skill based solely on your results with silver.
- Calibrate everything on scrap. Every new material, every new jig height. Write down your recipes completely.
- Beware of buffer issues on large jobs. If big cuts are failing unexpectedly, it might be a problem with the controller board not receiving all the passes you sent.
Getting these basics right will save you countless hours and, more importantly, a lot of sterling silver.