Engraving Fingerprints & Handwriting on Silver Jewelry
Engraving personalized details like fingerprints or handwriting on sterling silver can be tricky. This guide shares our workshop's tested methods and settings to achieve crisp, lasting results on a fiber laser, avoiding common mistakes that waste precious metal.
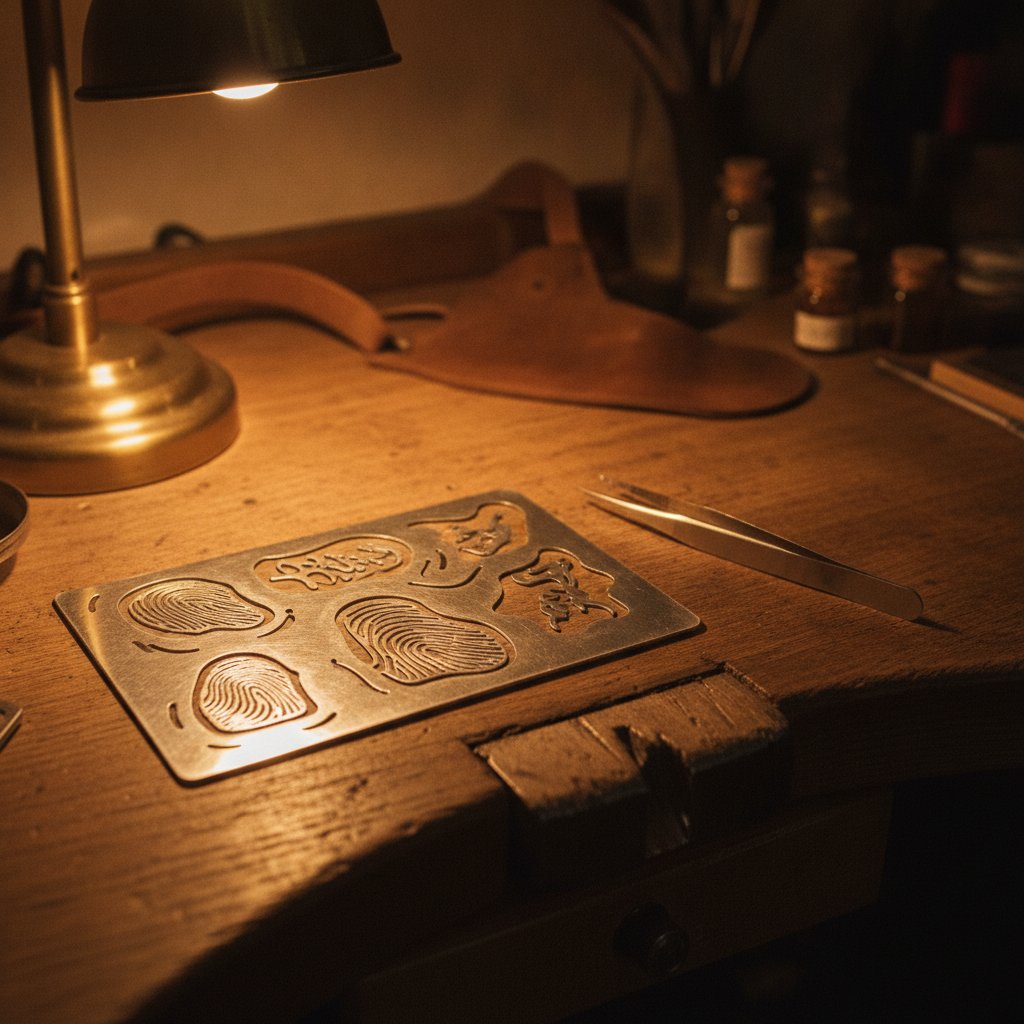
Personalized jewelry featuring fingerprints, handwriting, or signatures is a popular request, but getting fine detail onto sterling silver with a fiber laser can be frustrating. We spent months losing silver to smudged details, faint lines, and engravings that just did not look right. This is the practical guide we wish we had found two years ago, sharing our tested methods for achieving crisp, legible results every time.
Preparing Your Artwork for Engraving
The first step to a great engraving happens long before you touch the laser: preparing your image. Whether it is a fingerprint, a child's drawing, or a signature, the goal is a clean, high-contrast black-and-white image, ideally vectorized.
For fingerprints and handwriting, start with a good quality scan or photograph. Ensure the background is as white as possible and the lines are solid black. Any faint lines or smudges will be picked up by the laser. We then convert these images to vector graphics; this eliminates pixelation and gives the laser precise paths to follow.
The Detail Is in the White Gaps: Spot Compensation
This is perhaps the most crucial lesson for fine detail. Your drawing has zero-width lines, but the laser spot has a physical width. Every marked line comes out fattened by roughly half a spot diameter on each side. On a detailed image, like a fingerprint or fine handwriting, this fattening closes the small white gaps that actually define the detail. The geometry sent to the machine is perfect; the physical mark is not.
The fix is to shrink the area to be marked by about half a spot before marking. The spot then fattens it back to the right size, and those critical white gaps survive. We use 0.05 mm as a default compensation for silver engraving and tune from there. More compensation means finer and cleaner detail; too much compensation, and the fill starts to break up.
Strokes Thinner Than Your Laser Spot
A related problem appears when you apply spot compensation: if a stroke in your artwork was already thinner than the spot, shrinking it by half a spot can make it disappear completely. The fine line work that gives a drawing its character is often what vanishes first.
If, after adding spot compensation, your piece looks clean but small details are simply missing, the laser was never told to mark them. The solution is to identify these thin features and mark them at their real size, as one or two single lines, without compensation. This way, you get clean, compensated fills and your fine strokes survive.
Engraving Settings for Sterling Silver
Sterling silver is one of the most challenging metals to engrave due to its high reflectivity and excellent heat conductivity. Our machine uses a 100 W MOPA fiber source with a 110 x 110 mm lens. Here are the settings we use for surface engraving on sterling silver, which you should treat as a starting point for your own tests:
| Parameter | Our Setting for Silver Engraving | What it Does |
|---|---|---|
| Speed | 700 mm/s | How fast the galvos drag the spot. Slower means more energy per millimeter, deeper. |
| Power | 95 % | Average power out of the source. |
| Frequency | 40 kHz | Pulses per second. Higher frequency = weaker individual pulses. |
| Pulse Width | 200 ns | (MOPA sources only) Longer pulses dig, shorter pulses are gentler. |
| Passes (LOOP) | 5 | How many times the geometry is repeated. The honest way to get depth. |
| Jump Speed | 2000 mm/s | How fast the head travels between marks with the beam off. Critical for avoiding stray lines. |
| Laser Off TC | 100 µs | Delay after last mark before jumping. Prevents the beam from trailing. |
| Contour Pass | Enabled | An extra outline pass. Helps small text, can hurt smooth fills. |
Always run a test grid on a scrap piece of your specific silver alloy to dial in your settings. What works for our harder laser-specific alloy may differ for yours.
Avoiding Stray Lines and Smudges
The classic "random lines ruining my engraving" problem often comes from the laser's jumps – the travel moves made with the beam supposedly off. A detailed photo engraving can contain thousands of these, and even a tiny leak per jump paints a visible mesh over the whole piece.
- Jumping too slowly: We initially lowered jump speed thinking it would leak less. The opposite is true: a slow jump gives the tail of the beam time to drag a visible line. Returning to 2000 mm/s (what EzCad3 uses by default) made the marks disappear and sped up the job.
- Laser Off TC too short: This delay ensures the beam dies before the head moves. Ours was set too short, causing us to jump with a live beam. Setting it to 100 µs fixed this.
We also found that ordering the fill so jumps stay short and land on already-marked (dark) areas hides any residual leak instead of drawing it on clean metal. This simple change cut visible leaks by about 90% in our workshop.
Engraving for Enamel Filling: Achieving Real Depth
For jewelry that will be color-filled with enamel, a surface mark is not enough. The recess must be deep enough to hold the enamel securely. This requires a different approach to engraving parameters, focusing on pulse energy.
We discovered that for depth, you should lower the frequency before you raise the power. Our 100 W source initially engraved shallower than a 30 W machine because our frequency was too high (40 kHz vs 30 kHz on the 30 W machine), resulting in weaker individual pulses.
Our confirmed recipe for engraving silver that gets filled with enamel:
- Power: 100 %
- Speed: 600 mm/s
- Frequency: 30 kHz (the key for fatter, digging pulses)
- Passes: 10
More passes at these settings will predictably go deeper. While slowing down also works, it can start to melt and round the edges of the recess, which is not ideal for holding enamel. Sharp, vertical walls hold enamel better, another reason to use spot compensation instead of letting the mark spread.
For more on depth, see Your Relief Looks Like a Contour Map: Where Terraces Come From.
Focus and Material: Why Silver Is So Difficult
Consistent focus is paramount for any laser job, especially on reflective metals. A part that rocks or is unevenly positioned will go out of focus, leading to cuts that go through on one side but not the other, or uneven engraving depth. Ensure your piece sits flat and at the correct focal height. If your laser is not cutting fine yesterday, check your focus first. For a comprehensive guide, check It Cut Fine Yesterday: Your Laser Focus Checklist.
The Silver Challenge
Sterling silver is arguably the most difficult common precious metal for a fiber laser. It is the most reflective and an excellent heat conductor, meaning it both rejects the 1064 nm beam and quickly dissipates any heat that does get absorbed. This is why it needs many passes to engrave deeply or cut through.
Gold, in contrast, reflects less and is noticeably easier to work with. If you have only ever cut silver, gold will feel like the machine got better. Never judge a machine, a recipe, or your own skill solely on silver; it is the hardest common case, not the average one.
For very reflective silver, we sometimes use a crude but effective trick: painting the surface matt black. The coating absorbs the beam, and the heat does the work. Clean it off afterwards, of course.
Holding Your Piece
New users often assume small parts need clamping. They do not. The beam has no mechanical force. Small pieces simply sit on the platform and stay put. The crucial thing is that the part lies flat and at the correct focus height. The only real risk is when a cut part comes free; it will not fly away, but it can drop or shift. Any operation meant to fully free a piece should be the very last step. More on this in Cutting Tiny Jewelry Parts: Hold Them in Place and Get Them Right.
After the Laser: Cleaning and Polishing
The laser leaves a black, oxidized edge on cut or deep-engraved silver. The piece off the machine is not the piece you sell. Our routine involves polishing the piece to bring back its shine after marking. This is a normal part of the process, not a sign of a mistake.
Plan for this in your design: fine or shallow details can be softened or removed by polishing. This is another argument for real engraving depth, especially for enamel work, rather than a mere surface mark. Always do your deep work first, then your finishing. Polishing before marking means you cannot touch up the surface afterwards.
Safety First: Operating a Class 4 Laser
A fiber marking laser is a Class 4 device. Its 1064 nm beam is invisible and causes permanent eye damage instantly. Laser safety glasses rated for 1064 nm (with suitable OD) must be worn by everyone in the room, always. Metal is a mirror; reflections go everywhere. Never leave a running job unattended. Metal marking produces metal fume and fine particulate; extraction with a proper filter is health equipment, not an accessory. Physical interlocks and enclosures are the real safety layer; software interlocks are a convenience and can be bypassed. Never treat software as your protection.
Practical Takeaways for Your Workshop
If you are looking to engrave fingerprints, handwriting, or signatures on silver today, here are the first things you should do:
- Prepare your artwork meticulously: Ensure high contrast, and consider vectorizing for sharp edges.
- Apply spot compensation: Shrink your engraving areas by about 0.05 mm to preserve fine detail and white gaps.
- Check for thin strokes: Ensure any fine lines that might disappear with compensation are marked separately or thickened.
- Calibrate your engraving settings on scrap: Start with our recommended settings (95 % power, 700 mm/s, 40 kHz, 200 ns pulse width, 5 passes) but always test.
- For deep engraving (e.g., for enamel): Drop your frequency to 30 kHz (at 100 % power, 600 mm/s, 10 passes) for fatter pulses that dig deeper.
- Verify your jump settings: Ensure your jump speed is fast (2000 mm/s) and Laser Off TC is sufficient (100 µs) to avoid stray lines.
- Always polish after engraving: Factor this into your design and workflow.