Marking, Engraving, and Cutting on Fiber Lasers: What Actually Changes
Ever wondered what truly separates laser marking, engraving, and cutting on your fiber laser? We break down the practical differences on the bench, from focus to frequency.
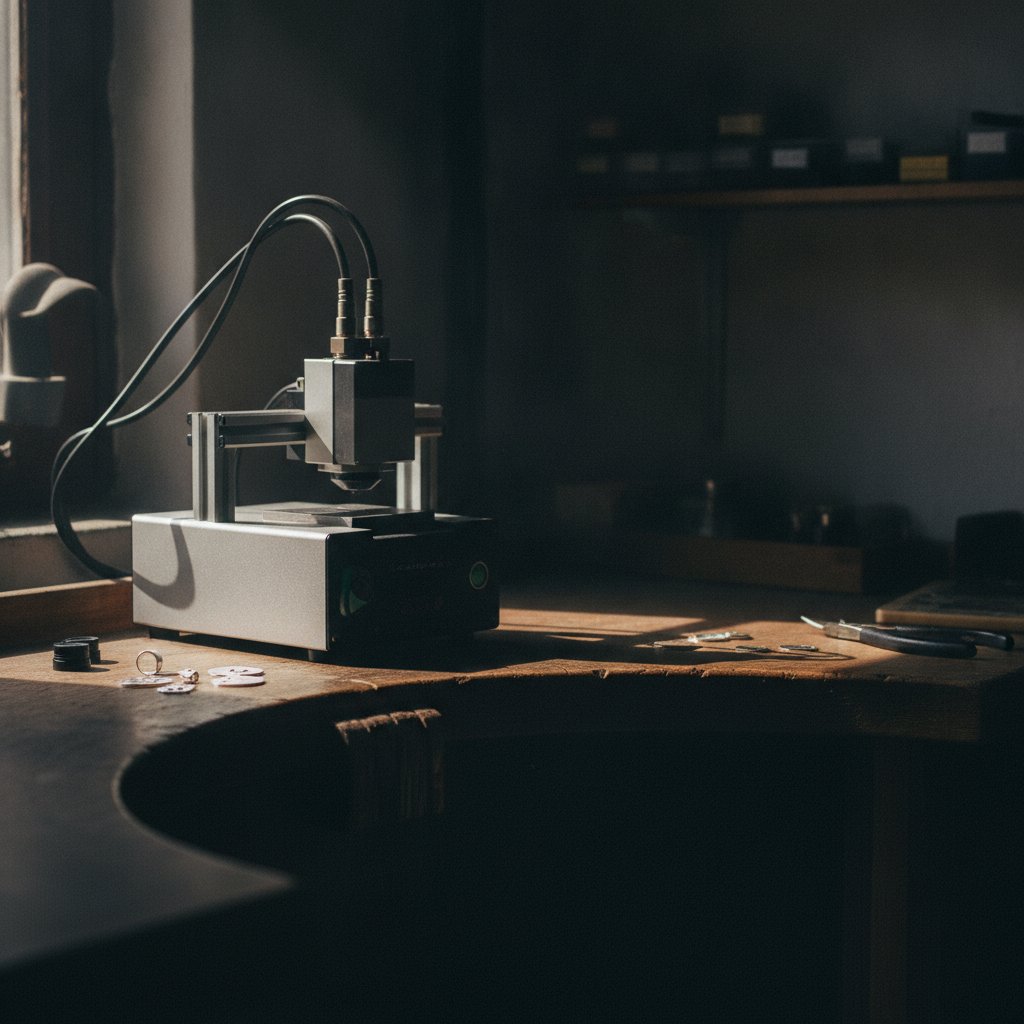
You have a fiber laser, and you want to mark, engrave, or cut metal. The terms are often used interchangeably, but on the bench, they are very different operations, each requiring a distinct approach to your machine's settings. The core difference is how much energy you deliver, and in what way, to achieve a specific physical effect on the material.
What Your Fiber Laser Actually Does: An Analogy
Think of your laser as a tool for applying energy to a surface, with varying degrees of intensity and depth:
- Marking is like writing on a whiteboard with a marker. You are making a surface discoloration or a very shallow etch. It changes the appearance but removes almost no material. It is a surface effect.
- Engraving is like carving into wood with a chisel. You are intentionally removing material to create a recess or a deep texture. You want noticeable depth, and the effect is three-dimensional, even if subtle.
- Cutting is like sawing through a plank. You are trying to remove a continuous line of material to separate one piece from another. This is the most demanding operation, requiring the laser to penetrate fully through the material's thickness.
Each of these operations is controlled by the same set of parameters, but the values you dial in change dramatically. Before we dive into those, a quick and critical reminder about safety:
A fiber marking laser is Class 4. The 1064 nm beam is invisible and causes instant, permanent eye damage. Laser safety glasses rated for 1064 nm (with an OD suitable for your source power) must be worn by everyone in the room, always. Metal is a mirror, and reflections go everywhere. Never leave a running job unattended, and ensure you have proper extraction with a filter for metal fumes and particulate.
The Big Levers: Power, Speed, and Frequency
These three settings are the fundamental controls for how your laser interacts with the material.
Power (%)
This is the average power output of your laser source. Higher percentages mean more overall energy. For cutting and deep engraving on sterling silver, our workshop typically runs at 95% or 100% power.
Speed (mm/s)
This is how fast your galvo mirrors move the laser spot across the material. Slower speeds mean the laser spot spends more time on each millimeter of material, depositing more energy. This generally leads to deeper and wider marks, up to the point where you start melting the metal instead of cleanly ablating it.
Frequency (kHz)
This is the number of laser pulses per second. This is where things get genuinely counter-intuitive for new users. Think of it like this:
- High frequency (many pulses per second) means the individual pulses are weaker, even at the same average power. This is good for fine surface marking, clean detail, and surprisingly, for cutting through metal.
- Low frequency (fewer pulses per second) means each individual pulse is much stronger, carrying more energy. These "fatter" pulses dig deeper into the material, making them ideal for deep engraving.
We once measured our 100 W MOPA source engraving shallower than a 30 W machine on the same silver. The reason? We were running at 40 kHz while the 30 W machine was at 30 kHz. Its individual pulses were significantly stronger, leading to faster depth despite less average power. Dropping our frequency to 30 kHz was the big lever that fixed this for us.
Pulse Width (ns) - MOPA Sources Only
If you have a MOPA source, you can also set the pulse width in nanoseconds. This is another way to control the energy per pulse:
- Long pulses (e.g., 150-250 ns) deposit more energy per shot, making them effective for depth, engraving, and cutting. Our silver engraving recipe uses 200 ns.
- Short pulses (e.g., 2-20 ns) are gentler. These are what make color marking on stainless steel possible, and they mark plastics and anodised aluminum more delicately.
Your source retains the pulse width setting until you change it; it's not something that travels with each job file.
Focus, Passes, and Wobble: Making it Cut
While power, speed, and frequency define the basic interaction, these settings are crucial for achieving specific results, especially cutting.
Focus Height: The Number That Ruins More Cuts Than Any Other
The single most critical setting for cutting, and often overlooked, is your Z-axis focus height. Your laser beam comes to a precise focal point, and if your material is not exactly at that point, the energy density drops sharply, and the laser simply will not cut. On our machine, the factory-calibrated focus (platform surface in focus) is -59.6 mm. When cutting sheet metal, the top surface of the material is one thickness ABOVE the platform, so the rule is: Z = focus + material thickness. For example, 1 mm silver sheet on our machine needs a Z-height of -58.6 mm.
We verified this the hard way: -58.5 mm cuts, but -56.5 mm (only 2 mm of defocus) does not cut at all. If your cuts got worse over time and nothing else changed, check your focus before you touch power or passes. A bent jig or a platform that shifted can easily throw it off.
Passes / Loops: The Honest Way to Get Depth
This simply means how many times the laser repeats the entire geometry. It's the most predictable and honest way to achieve depth in engraving or to cut through material. Trying to force a cut with too much power instead of enough passes usually just widens the kerf and heats the piece, leading to distortion.
Wobble: The Cutting Setting Nobody Explains
For cutting metal, you need to enable wobble. This setting makes the beam oscillate sideways as it follows the cut line, making the kerf (the width of the cut) wider than the laser spot itself. A wider kerf allows the molten metal to be ejected instead of re-welding behind the beam as the laser passes. Without sufficient wobble, the laser will mark perfectly but never cut through.
Our working recipe for sterling silver cutting uses a wobble diameter of 0.15 mm. We once had it set to 0.015 mm by mistake – a factor of ten error – and the machine simply would not go through, despite correct power and passes. So, if a recipe that used to cut suddenly only engraves a line, check your wobble diameter first.
Our standard cutting recipe for sterling silver on our machine, with the correct focus and wobble, is: 95 % power, 190 mm/s, 60 kHz. The pass counts depend heavily on thickness:
| Silver Thickness (mm) | Passes (Our Machine) |
|---|---|
| 0.3 | ~2 |
| 0.5 | ~6 |
| 0.8 | 17 |
| 0.9 | 21 |
| 1.0 | 28-29 |
We've found that high frequency (like 60 kHz) wins for cutting through, while low frequency (like 30 kHz) wins for engraving depth. We tried dropping to 20 kHz for cutting 0.3 mm silver, and it cut worse, needing 16 passes and still not going through.
Engraving for Detail and Depth
Engraving can range from a light surface mark to deep relief. Achieving good results, especially with detail, requires attention to several nuances.
Spot Width and Kerf Compensation
Your drawing has zero-width lines; your laser does not. Every marked line comes out fattened by roughly half a spot diameter on each side. On detailed images, this fattening closes the tiny white gaps that define the detail, turning fine art into a black blob. The fix is to digitally shrink the area to be marked by about half a spot before marking. The spot then fattens it back to the correct size, preserving the white gaps. We use 0.05 mm as a default compensation and tune from there. This is essentially kerf compensation for engraving fills. You can read more about this problem here.
Be aware that if you apply this compensation, any stroke in your original artwork that was already thinner than your laser spot will disappear completely, as the compensation shrinks it to nothing. You'll need to identify and mark those fine lines separately at their original size.
Stray Lines and Jumps
One common issue with detailed engravings is stray lines appearing across the work. These are not part of the fill pattern; they are the "jumps" – the travel moves the laser makes between marked segments with the beam supposedly off. We found two main causes:
- Jumping too slowly: We initially lowered jump speed, thinking it would leak less. The opposite is true: a slow jump gives the tail of the beam time to drag a visible line. Returning to 2000 mm/s (EzCad3's default) made these marks disappear.
- Laser Off TC too short: This delay ensures the beam dies before the head moves. If it's too short, the machine starts jumping while the beam is still live. EzCad3's default 100 µs works well.
For a detailed photo engraving with thousands of jumps, even a tiny leak per jump can create a visible mesh. Ordering the fill so jumps are short and land on already-marked (dark) areas also significantly hides any residue.
Engraving for Enamel Filling
Jewelry meant for enamel filling needs real depth to hold the material, not just a surface mark. Our confirmed recipe for sterling silver is: 100 % power, 600 mm/s, 30 kHz, 10 passes. The key here was dropping the frequency to 30 kHz for those fatter, deeper-digging pulses.
The process is:
- Engrave the recess deep enough.
- Fill generously with enamel.
- Clean off excess from the surface.
- Fire (if kiln enamel), then sand the surface flat and polish. This gives that flush, professional finish. If the engraving is too shallow, sanding will remove the enamel.
Relief and Layered Engraving
Relief (or 2.5D) work involves removing material in layers to create depth from a greyscale image. You engrave a layer, drop the Z-axis by a small step, engrave the next mask, and repeat. Depth is not what you order: on silver at 95% power, 700 mm/s, 40 kHz with a 0.03 mm step, we measured about 18 µm removed per layer. Asking for 1 mm depth produced about 0.6 mm.
The classic artifact is "terraces" – visible contour lines on gentle slopes. Trying to fix this by smaller Z-steps doesn't work, as the laser stops being effective at about a millimeter of defocus. What actually smooths it is a final pass at the focus height that modulates energy by depth instead of moving Z, blending the steps together. Half-step dithering of the layer masks also helps by bringing back sub-step detail that would otherwise disappear.
Edge compensation (eroding each layer mask by half a spot) is also critical here for crisp walls and sharp features, preventing everything from melting into a soft mound.
Material Matters: Silver, Gold, and Reflectivity
The material you are working on dictates much of your approach. A fiber laser at 1064 nm needs to be absorbed to do any work. The more reflective a metal, the more power bounces off instead of working.
Silver is the most challenging of the common precious metals for fiber lasers. It is highly reflective and an excellent heat conductor, meaning it both rejects the beam and quickly dissipates any heat that does get in. This is why it requires so many passes for cutting and deep engraving.
Gold reflects less, and the difference on the bench is obvious. The laser works very well on gold; it cuts and engraves more easily than silver with the same machine and operator. If you've only ever cut silver, working with gold will feel like your machine suddenly got more powerful. This also explains why gold is easier to laser weld than silver. We dive deeper into the challenges of silver here.
For very reflective silver, a common workaround is to paint it matt black, mark through the coating, then clean it off. The coating absorbs the laser energy, and the heat then does the work on the silver beneath.
Cutting Gold: A Starting Point
The good news is the core recipe for cutting gold does not change from silver: 95 % power, 190 mm/s, 60 kHz, with wobble enabled. Only the number of passes changes.
Because gold absorbs more of the beam, it needs roughly half the passes of silver for the same thickness. These are derived from our silver measurements and are intended as a starting point for typical yellow gold, to be proved on scrap:
| Sheet Thickness (mm) | Gold Passes (Starting Point) |
|---|---|
| 0.25 - 0.4 | 2 |
| 0.5 | 3 |
| 0.6 | 4 |
| 0.7 | 6 |
| 0.8 | 9 |
| 0.9 | 11 |
| 1.0 | 14 |
Always start with fewer passes and work up. Too many passes will widen the kerf, overheat the piece, and distort thin sections. Karat and alloy (e.g., 18k yellow vs. 14k, or white gold) will change these numbers, so always test on scrap.
Practical Takeaways for Your Bench
Understanding the distinctions between marking, engraving, and cutting comes down to how you deliver energy. Here's what we've learned over countless hours at the bench:
- Calibrate on scrap, always. Change one variable at a time (power, speed, frequency, passes, focus). A simple grid of settings engraved with its own parameters will tell you more than guessing. Write down every successful recipe completely, including focus height.
- Check focus first if cuts fail. Before you touch power or passes, ensure your Z-height is correct for the material thickness. This fixes more problems than anything else.
- Wobble is non-negotiable for cutting. If a recipe suddenly stops cutting but still marks, check your wobble diameter. A tiny error here (like 0.015 mm instead of 0.15 mm) will prevent a through-cut.
- Frequency behaves differently. Use high frequency (e.g., 60 kHz) for cutting through metal. Use lower frequency (e.g., 30 kHz) for maximum engraving depth.
- Don't ignore the "small" settings. Fast jump speeds (2000 mm/s) and sufficient Laser Off TC (100 µs) are critical for clean engravings without stray lines, especially on detailed images.
- Your laser spot has width. For fine detail, apply kerf/spot compensation by shrinking your engraving fills. If fine lines disappear, you've likely over-compensated or they were too thin to begin with.
- Big jobs can drop passes. If large cuts seem weaker per pass than small ones, or the machine finishes faster than expected, your controller's buffer might be dropping commands. This looks exactly like a "weak laser." We explain this failure mode in more detail here.
- Back up your machine's configuration. Your EzCad3
PARAMfolder containsMotors.ini,MarkParamlib.ini, and your.corgalvo correction file. These are your machine's calibration and are invaluable. - Never judge your machine on silver alone. It is the hardest common precious metal to work with due to its high reflectivity. Gold and other metals will feel significantly easier.