Our Own Laser Software: A Jeweler's EzCad3 Workflow Story
As jewelers cutting sterling silver every day, we needed a faster, more intuitive workflow than EzCad3 offered. We ended up writing our own laser software. This is our story from the bench.
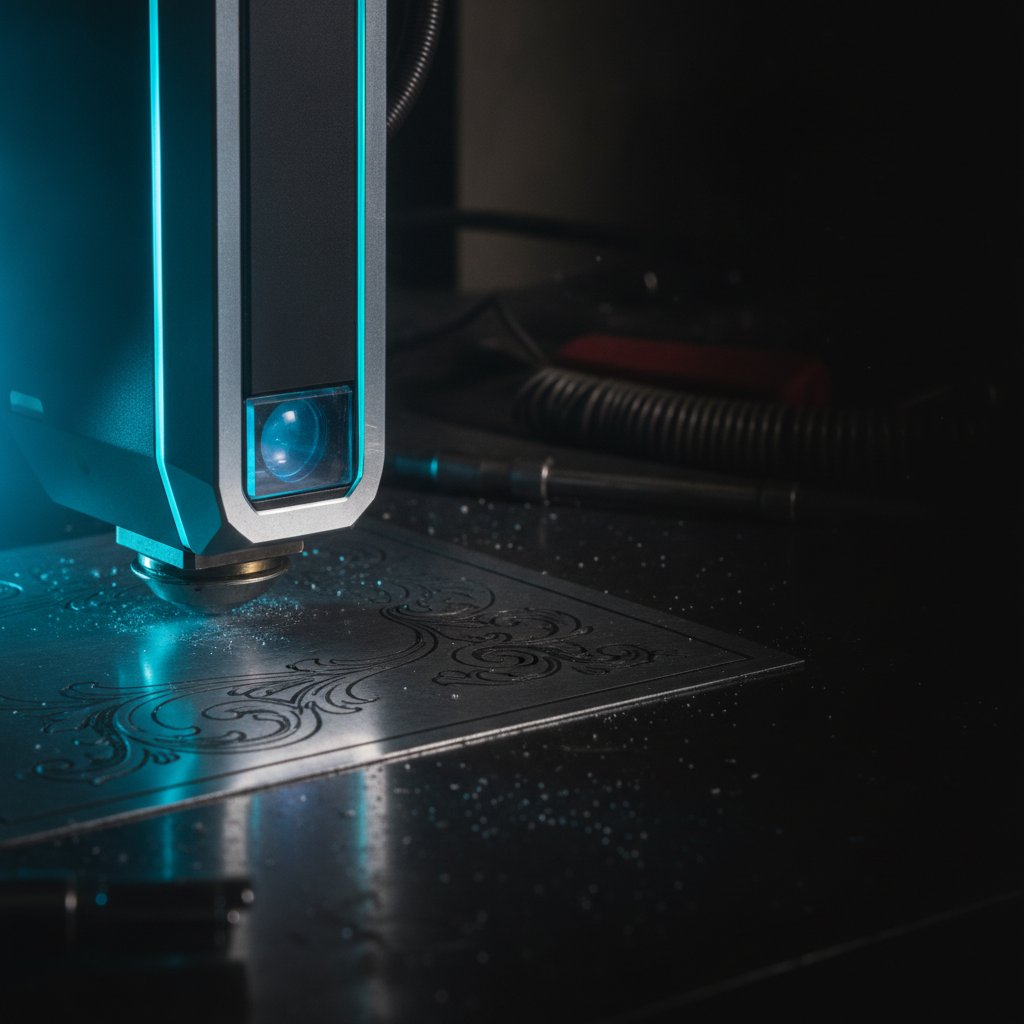
For two years, our jewelry workshop in Málaga, Spain, cut and engraved sterling silver on a fiber laser with a BJJCZ DLC2 board and EzCad3. Like many workshops, we loved the machine's capabilities but struggled with the daily software workflow. We lost material, wasted hours on repetitive tasks, and found ourselves wishing for an easier way. Eventually, we built the software we needed, a free program called HagoLaser, specifically for jewelers like us.
This is the story of what went wrong, what we learned, and what we would tell someone starting today about getting a smooth, reliable workflow for jewelry production.
The Daily Grind: Why EzCad3 Fell Short for Our Workshop
EzCad3 is the software that typically ships with galvo fiber lasers featuring JCZ DLC2 controller boards. It is excellent at driving the hardware and executing laser jobs with precision. However, for a jewelry workshop like ours, where we iterate on dozens of designs daily, its workflow presented significant challenges. It wasn't about the software being "bad" – it simply wasn't designed for our specific pace and needs.
Our main pain points revolved around the constant need to translate a graphic design into machine operations. Each line, each fill, each cut had to be assigned a "pen" from a library, which meant navigating layers, dialogs, and ensuring every parameter was correct. When you’re cutting hundreds of small parts, even a few extra clicks per design add up to hours lost and mental fatigue. We needed a system where the design itself already contained the instructions for the laser.
Our Solution: A Color Workflow That Just Works
Our ideal workflow was simple: draw the piece, hit "Mark." We wanted the design to be the job. This led us to develop a color-based workflow using Inkscape, a free vector graphics program. We assign specific flat colors to specific laser operations. This way, the moment a design is saved, it's ready to be marked.
The system is built around three core colors, though any color can be mapped to any operation in a shop's Colors library. These are the defaults we use because they fit our production needs perfectly:
- Black
#000000: Inner Cut – For holes, letters, and interior details. These are cut first while the piece is still firmly held by the surrounding sheet. - Blue
#0000ff: Engrave – For surface marking, text, and decorative elements. - Purple
#8800ff: Outer Cut – The final cut that separates the finished piece from the silver sheet. This happens last to prevent parts from shifting mid-job.
The Core Colors We Use for Jewelry
| Color | Hex Code | Operation |
|---|---|---|
| Black | #000000 |
Inner Cut |
| Blue | #0000ff |
Engrave |
| Purple | #8800ff |
Outer Cut |
Getting the Inkscape Palette Right
One common initial confusion we've seen is users drawing with Inkscape's default blue instead of our assigned blue. Our software installer places a HagoLaser palette into Inkscape's user palette folder. You need to select this palette in Inkscape (click the small arrow button at the right-hand end of the color strip). Once selected, the first three swatches are clearly labeled "Inner Cut," "Engrave," and "Outer Cut," making it impossible to pick the wrong color.
The Single File Workflow
In our workshop, we keep a single Inkscape SVG file open, literally named 1.svg. We draw the current job in this file, save it, and then press "Mark" in HagoLaser. There's no re-importing, no file dialogs, no export steps. The software rereads the SVG from disk every time we mark, so what you last saved in Inkscape is what appears on the metal.
If you press "Mark" and get the previous design, it simply means you forgot to save your changes in Inkscape. This simple loop has drastically cut down on setup time and errors.
Under the Hood: The Parameters That Make Silver Shine (or Fail)
Every laser job relies on precise parameters. EzCad3 stores these in its PARAM folder, in files like MarkParamlib.ini (the pen library) and Motors.ini (focus height, axis data). Our software, HagoLaser, reads these same files directly during its first-run wizard, ensuring that your machine's unique calibration and existing recipes are preserved.
For sterling silver engraving, we've dialed in specific settings on our 100 W MOPA fiber laser. Remember, these are for our machine and our silver sheet; you must always test on scrap to find what works for your specific setup. We have a detailed article explaining every EzCad3 pen parameter for jewelers, but here are the core settings we use for engraving silver:
- Speed: 700 mm/s. This is how fast the galvos move the laser spot. Slower means more energy per millimeter, leading to deeper engraving, but too slow can melt rather than ablate.
- Power: 95 %. This is the average power percentage from our source.
- Frequency: 40 kHz. With fixed power, higher frequency means weaker individual pulses. For engraving, we want pulses that have enough energy to remove material.
- Pulse Width: 200 ns. On MOPA sources, longer pulses deliver more energy per shot, which helps in digging into the material.
- Passes (LOOP): 5. Repeating the job multiple times is the most consistent way to achieve desired depth.
- Jump Speed: 2000 mm/s. This is how fast the head moves between marks with the beam off. Counter-intuitively, if this is too low, you can get faint stray lines across your work.
- Laser Off TC: 100 µs. This is a critical delay after the last mark before the head jumps. If too short, the laser might still be active as the head moves, causing unintended marks.
- Polygon TC / Min/Max Jump TC: 100 / 10/85. These are small delays that allow the galvos to settle at corners and during jumps, trading sharpness for speed.
- Contour Pass: Enabled. EzCad3 enables this by default, adding an extra outline pass around filled areas. This makes small text crisper and slightly thickens the overall appearance.
A crucial safety reminder: A fiber marking laser is Class 4. The 1064 nm beam is invisible and causes instant, permanent eye damage. Always wear laser safety glasses rated for 1064 nm with an appropriate OD for your source power. Metal reflects the beam everywhere. Never leave a running job unattended, and ensure you have proper fume extraction with a filter, as metal marking produces fine particulate.
Navigating the Technicalities: Drivers and Safety
One of the first hurdles new users encounter with direct control software like HagoLaser is the USB driver. To communicate directly with the JCZ DLC2 board, HagoLaser requires the generic WinUSB driver. The standard tool to switch this driver is bundled with our installer.
Be aware: While WinUSB is installed, EzCad3 will not work. The drivers are mutually exclusive. To revert to EzCad3, you need to uninstall the device in Windows Device Manager (remembering to tick "delete the driver software") and then reconnect your USB cable. We state this upfront because we believe in transparency – it's a trade-off that users need to be comfortable with.
On the topic of safety, it's vital to understand that software interlocks are not your primary protection. On our machine, the door interlock check is enforced by EzCad3 in software, not by the controller board itself. If EzCad3 were removed, the board would mark with the door open. While HagoLaser has an option to honor the door interlock, it's off by default for us because our machine's sensor wiring doesn't match the expected configuration.
The lesson here is profound: if your safety relies on a software checkbox, you don't have true safety. Physical enclosures, robust mechanical interlocks, and properly rated laser safety glasses are what protect you. Software can be reconfigured, replaced, or simply switched off.
More Than Just Cutting: Textures and Precision
Not all engraving is about reproducing an image. For jewelers, a significant portion of work involves creating textures – a hammered finish, a linear brush, or a stipple pattern across a surface. These are essentially relief work applied as a tiled height pattern.
HagoLaser allows textures to be assigned per color, meaning one part of a design can be cut, another engraved flat, and a third given a 3D texture, all from the same Inkscape drawing. Textures are forgiving; the eye doesn't expect a "correct" photographic reproduction, so minor inconsistencies add to a handmade feel rather than appearing as defects. This makes them an excellent starting point for learning relief work.
The F-theta lens on your machine also dictates your capabilities. Our machine has a 110 x 110 mm field. For jewelry, a smaller field is generally better because it concentrates the same laser power into a tighter spot, allowing for finer details and more efficient cutting and engraving. A larger field spreads the power, making everything weaker and coarser. Always verify your actual field size from your EzCad3 configuration.
What We Would Tell Someone Starting Today
If we could talk to ourselves two years ago, we would emphasize the importance of workflow over raw machine power. A powerful laser is only as efficient as the process that drives it. Here’s our advice:
- Prioritize a Streamlined Workflow: Look for ways to minimize clicks and context switching between design and machine operation. A color-based system, where your drawing directly dictates laser actions, is incredibly powerful for daily production.
- Understand Your Parameters: Don't just copy settings. Learn what speed, power, frequency, and pulse width actually do. Test extensively on scrap material specific to your workshop. Our settings for silver are a starting point for our machine; yours will likely differ slightly.
- Embrace Your Machine's Calibration: Your EzCad3
PARAMfolder contains your machine's unique calibration. Back it up, understand it, and leverage it. Software that can import these settings saves immense setup time. - Don't Compromise on Safety: Real safety comes from physical barriers and appropriate personal protective equipment (PPE), not software settings. Always wear certified laser safety glasses and ensure proper fume extraction.
- Explore Free Tools: You don't need expensive software to create efficient workflows. Inkscape is a powerful, free design tool, and projects like HagoLaser (which is free and currently in beta) are built to solve real-world production problems without licensing fees.